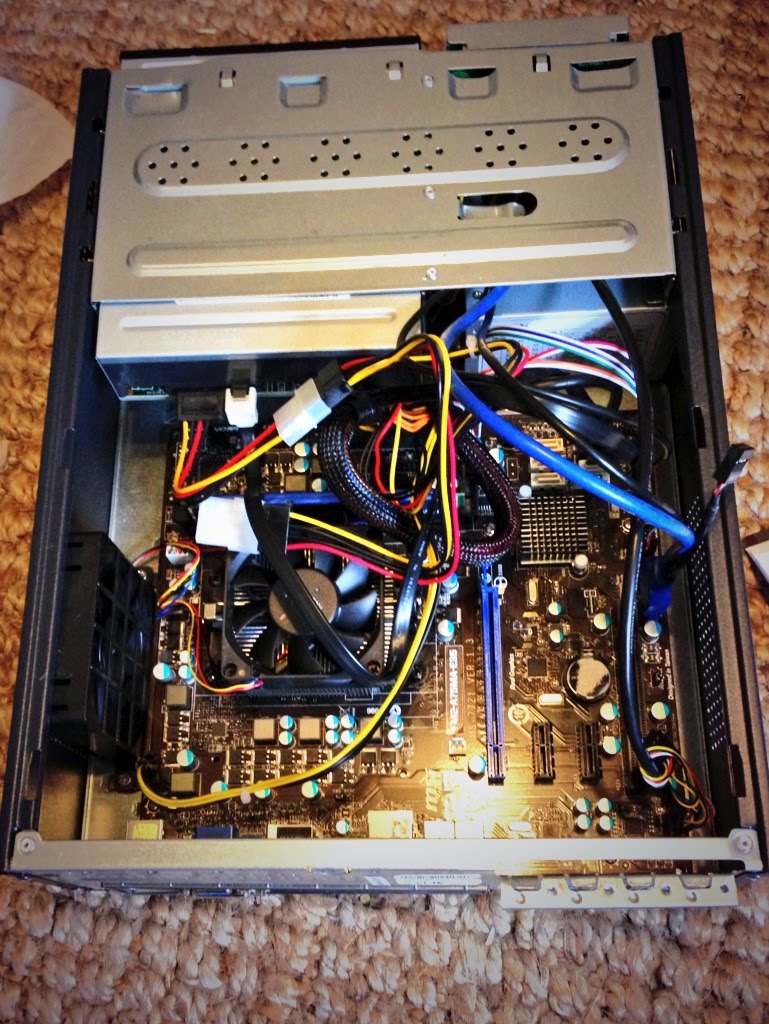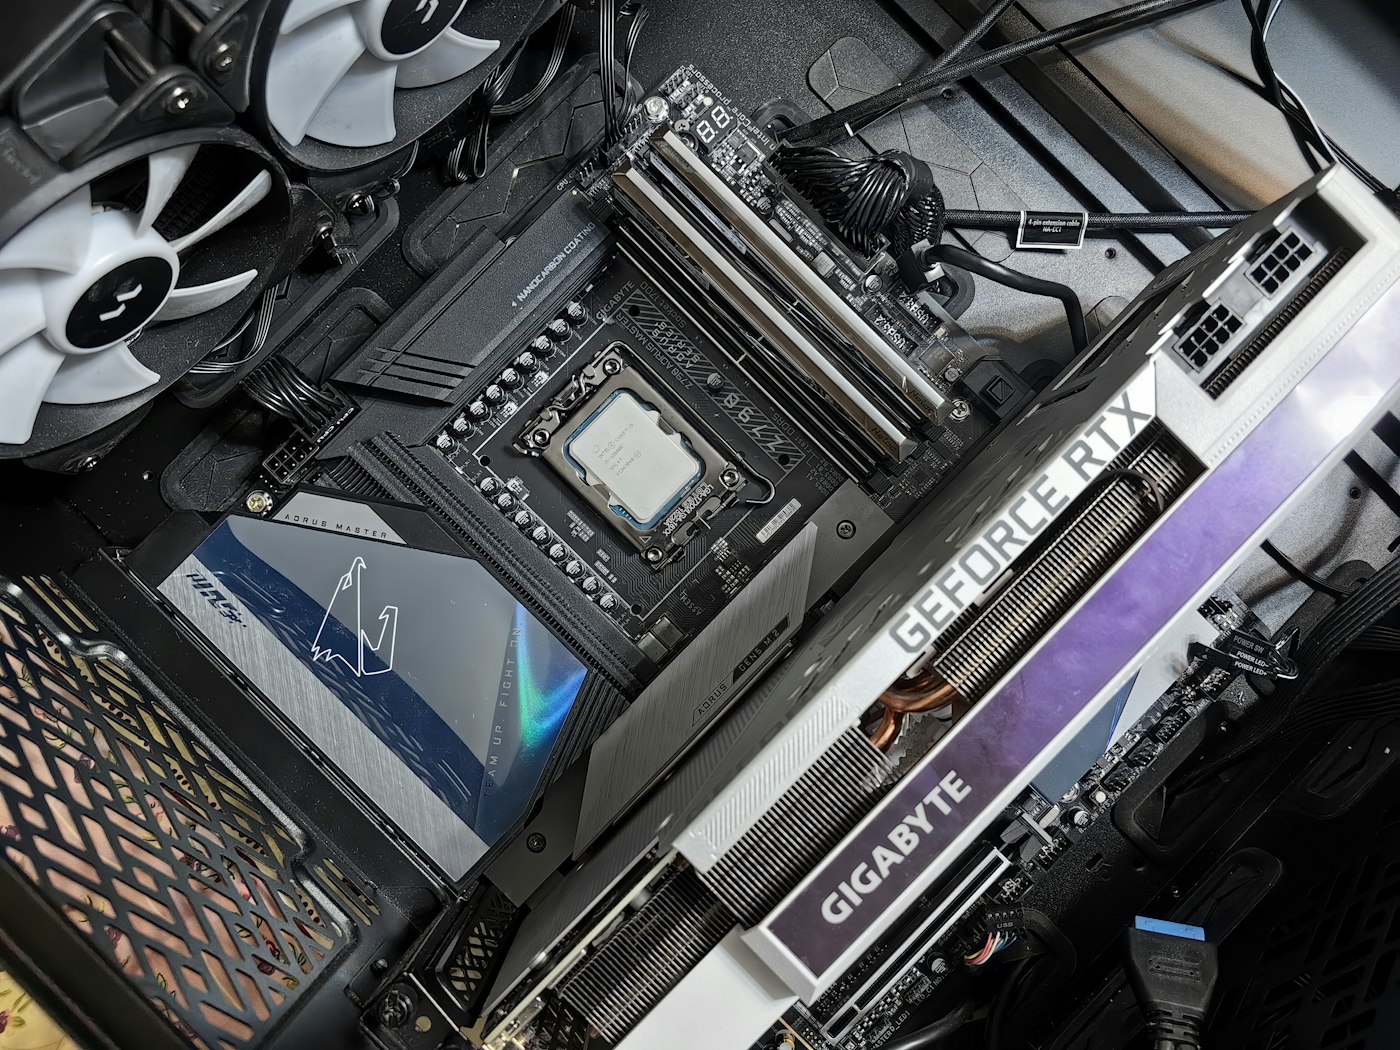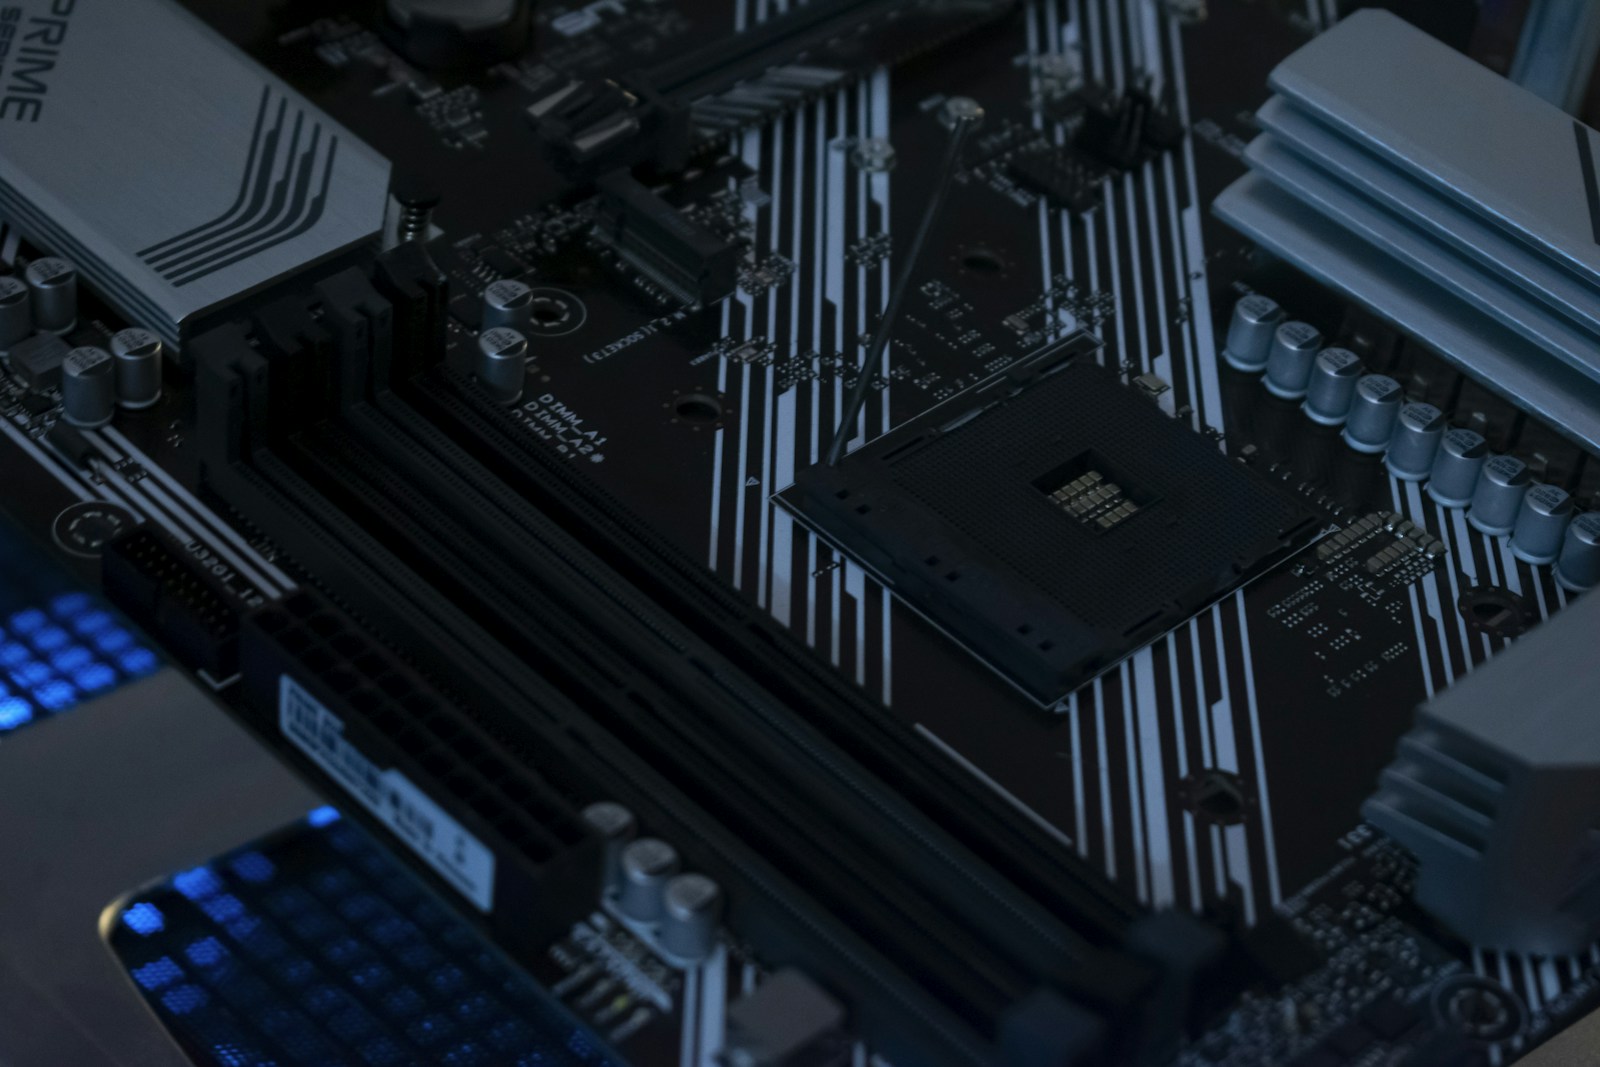
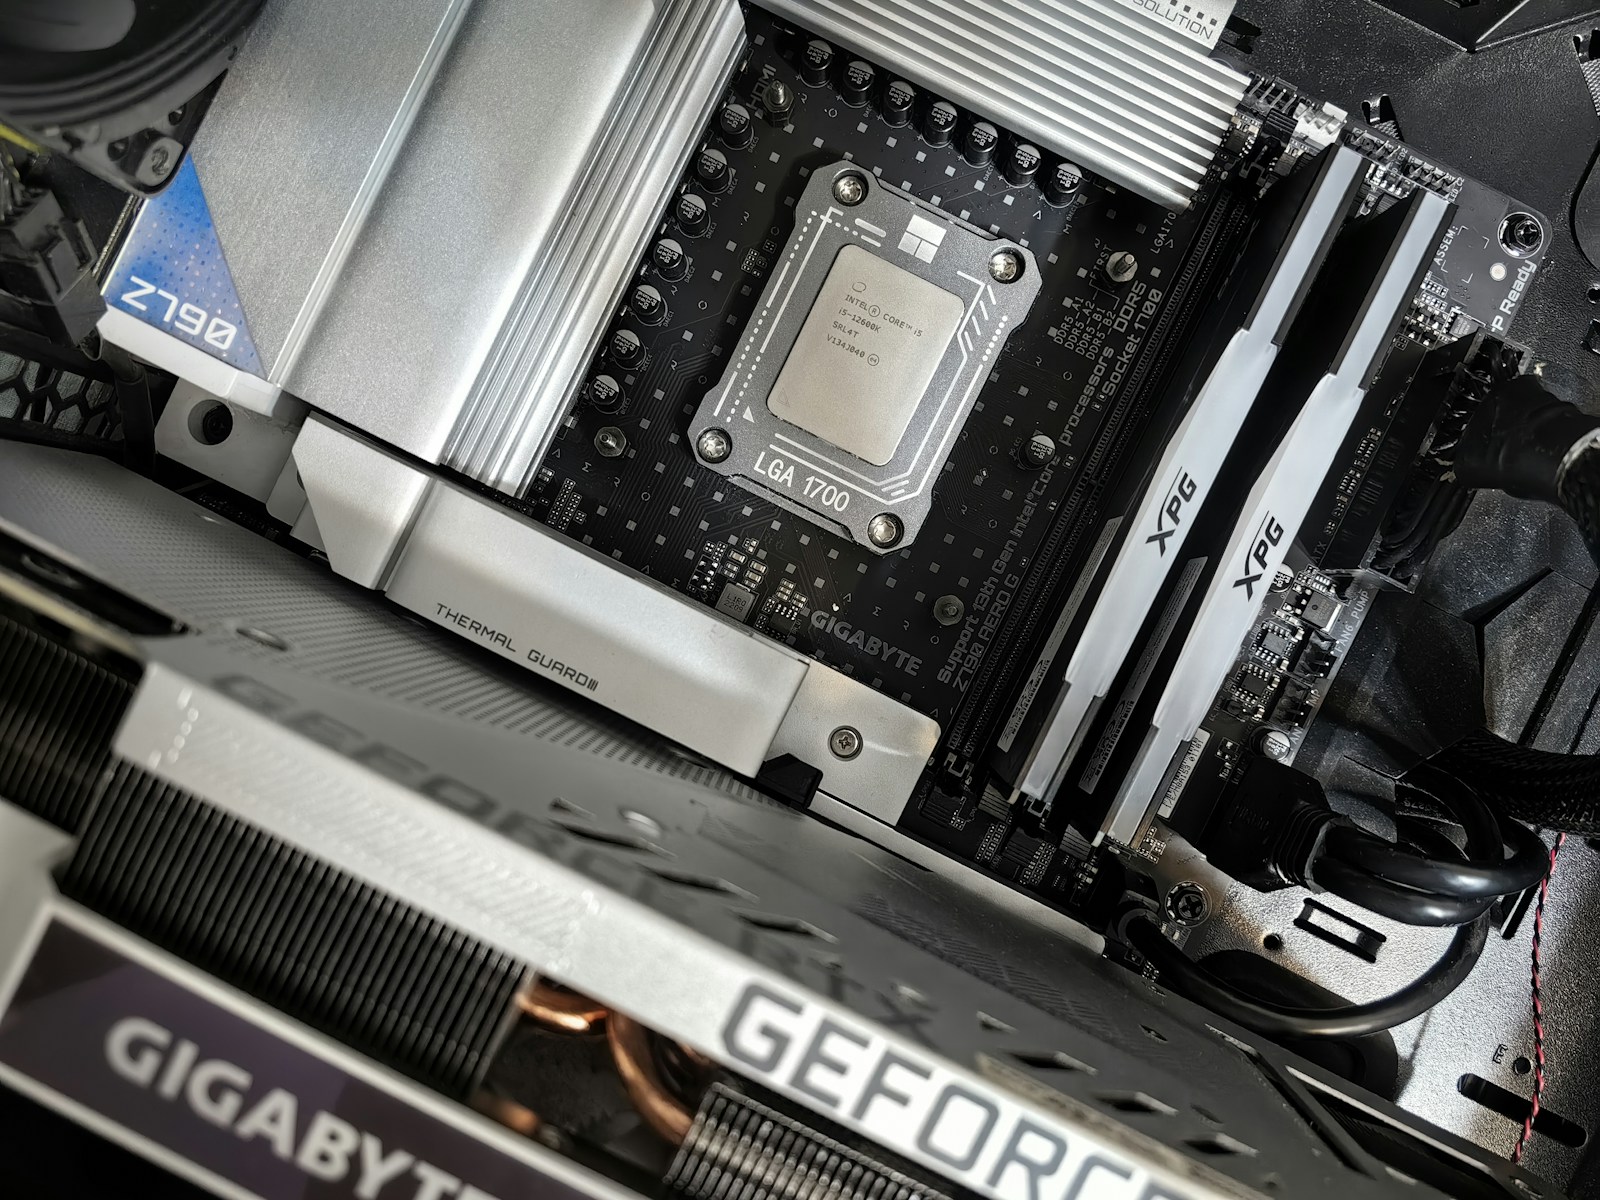
Building a computer is not magic. It is a sequence of mechanical, electrical and firmware checks. When performed methodically, it is rewarding; when rushed, even a tiny forgotten standoff or an unseated cable can turn an expensive weekend into a frustrating troubleshooting session.
What you need to know
- Work on a stable non-carpeted surface, unplug power and follow the exact hardware manuals.
- Never open the power supply housing or reuse unfamiliar modular PSU cables.
- Before your first Windows installation, verify the hardware is detected in UEFI/BIOS.
These are general instructions, not a replacement for the exact device service manual. Disconnect power and follow manufacturer precautions. Stop if you find damaged connectors, heat, liquid, swelling, or signs of electrical failure. Never open a power supply enclosure.
Prepare a clean workspace and inventory everything
Lay out a Phillips screwdriver, motherboard manual, cooler mounting kit, thermal paste if not pre-applied, case screws and a way to organize them. Compare every delivered component to the invoice. Inspect the motherboard socket, glass panels and cooler brackets for shipping damage.
Handle boards by their edges and reduce static buildup by working on a suitable surface. Do not place powered equipment on conductive materials. Keep drinks, pets and loose metal parts away.
Install CPU, RAM and SSD before the board goes into the case
On the motherboard's box or an anti-static-safe working surface, open the CPU retention mechanism and align the marked corner without touching contact pads. Set the processor down gently; do not force it. Install RAM in the manual's recommended slots, often A2/B2 for a two-DIMM configuration.
Install the M.2 SSD using the correct standoff, heatsink pad and retaining screw or latch. Remove protective film from any thermal pad if the manual instructs. Save the SSD packaging until the system is working.
Mount the cooler and prepare the case
Use the correct socket bracket and the thermal-paste procedure specified by the cooler maker. Tighten evenly and connect the CPU fan or pump to its designated header. Verify the fan does not touch RAM or cabling.
Check that motherboard standoffs match the actual holes and remove any unnecessary standoffs. Install the I/O shield if not integrated, mount the board and use the correct screws without overtightening.
Wire power and install the graphics card
Mount the PSU in the direction recommended for your case's air intake. Attach the 24-pin motherboard cable and CPU EPS 4+4/8-pin cable. These are separate connectors; do not confuse EPS and PCIe power cables.
Seat the GPU in the intended PCIe x16 slot, secure it with case screws and add the specific GPU power connector required by the manufacturer. Connect fans, case-front power switch, USB and audio according to the motherboard's pin diagram. Keep wires away from spinning fans.
First power-on and Windows installation
Before applying power, check the SJK first-boot checklist. Connect a monitor to the GPU if your processor lacks integrated graphics, then power on and allow memory training time. Enter UEFI/BIOS and verify CPU, RAM, storage and temperatures.
After you have a stable POST, install the operating system to the correct drive, apply official chipset, graphics and network drivers, and run updates. Back up once the system is configured. If there is no display or repeated boot failure, stop and use the No POST guide instead of repeatedly power-cycling without a plan.
Sources, specifications & further reading
SJK wrote this article as independent editorial analysis or educational guidance, based on the following published materials. Specifications and prices can change; always verify the current vendor documentation before acting.
Cover photograph: Photograph: Andrey Matveev / Unsplash. Real computer hardware, illustrative of PC assembly.
Need a second set of eyes?
Guides are free and self-service. SJK offers remote support nationwide and on-site work in the Dallas–Fort Worth area, with scope and pricing confirmed before paid service.
REQUEST SJK SUPPORT ↗EXPLORE THE BUILD LAB ↗