You press Power, fans spin and nothing appears. It is tempting to immediately blame the graphics card or reset the BIOS. But a machine that fails to POST can have a power issue, memory-training delay, display mismatch, firmware incompatibility or something as simple as an unseated CPU power cable.
What you need to know
- Start with the motherboard manual and the exact debug LED or POST code.
- Change only one variable at a time; photograph and document each result.
- Do not format disks, clear TPM, modify BIOS security or force updates before identifying the failure stage.
These are general instructions, not a replacement for the exact device service manual. Disconnect power and follow manufacturer precautions. Stop if you find damaged connectors, heat, liquid, swelling, or signs of electrical failure. Never open a power supply enclosure.
Step 1: observe before intervening
Record which fans spin, whether the system restarts on a loop, which diagnostic LED stays lit and whether there are beep codes. Some DDR5 systems train memory on initial boot and can appear blank for several minutes. Check manufacturer guidance for the expected wait and do not cut power repeatedly during legitimate firmware operations.
Verify that the display actually has power and the input is correct. A video cable connected to motherboard outputs will not work if the installed CPU lacks integrated graphics.
Step 2: distinguish major fault categories
CPU lights may indicate processor detection or power issues; DRAM often relates to memory seating, training or compatibility; VGA refers to graphics initialization; BOOT may indicate no bootable operating system rather than a dead motherboard. LED behavior is vendor-specific—always read the exact manual.
A system reaching UEFI but not Windows is not the same as a system failing POST. Separate the two before attempting boot configuration changes.
Step 3: test with a minimum configuration
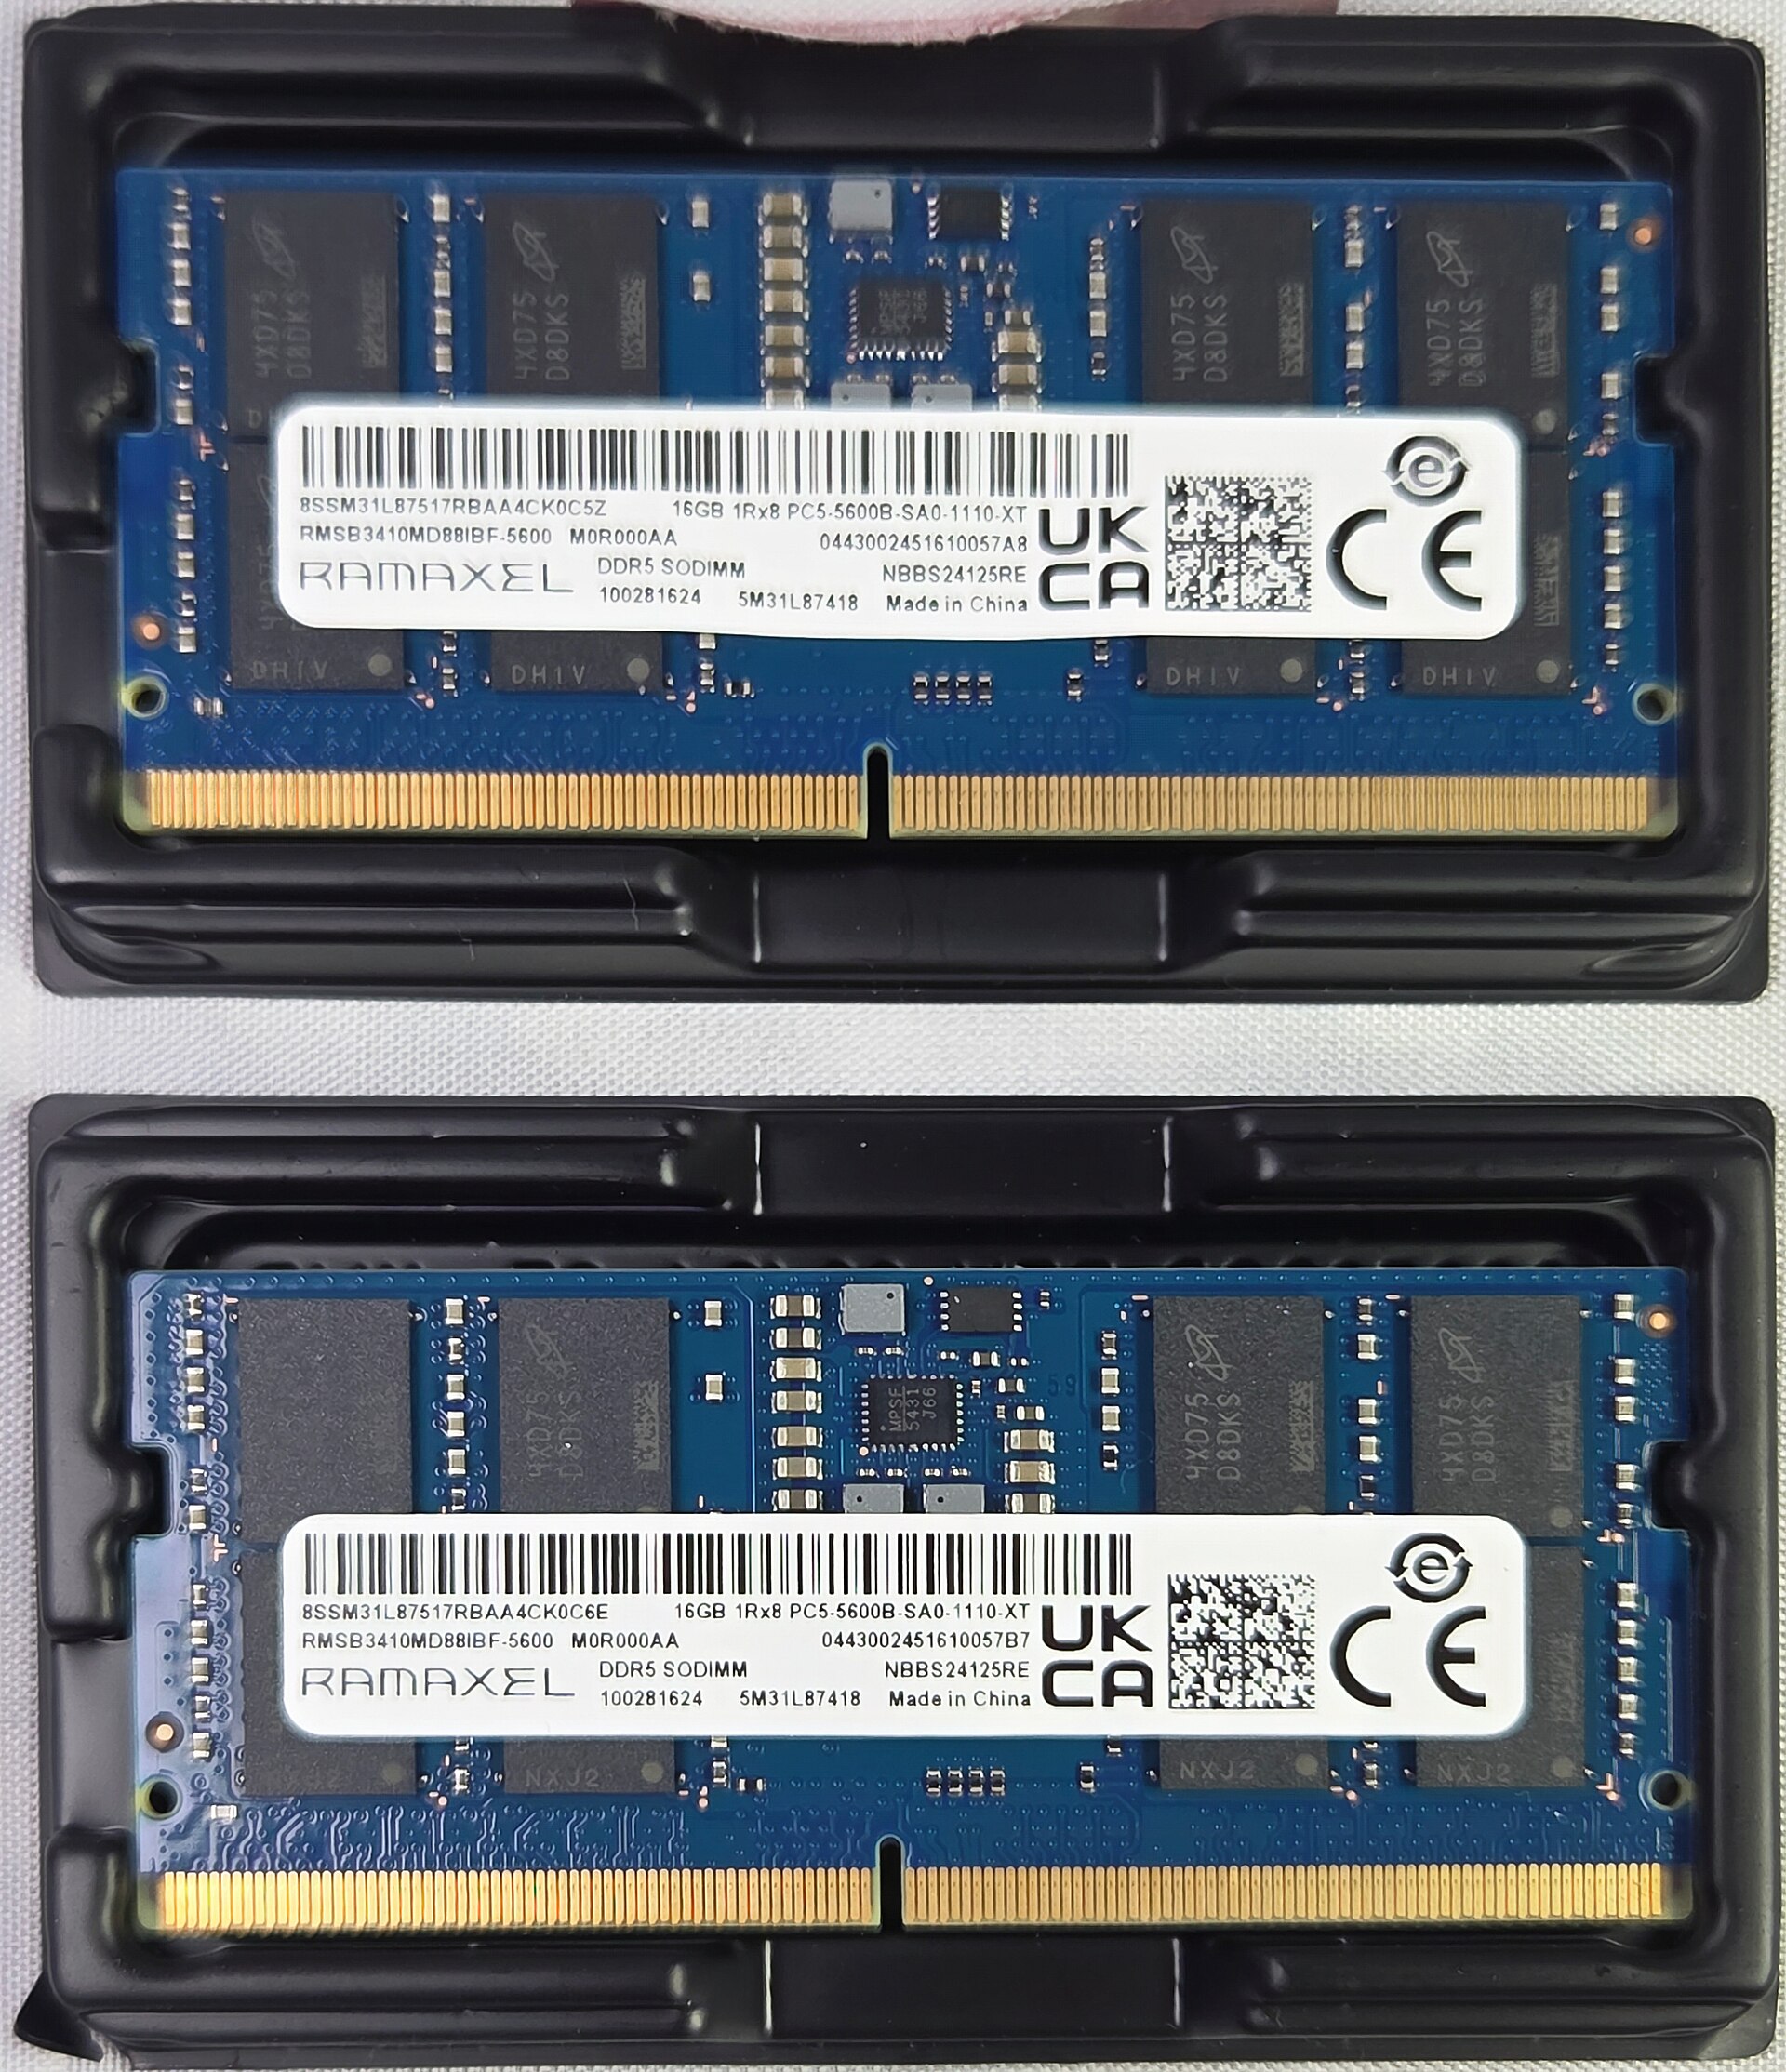
After powering off and unplugging AC, confirm 24-pin ATX and CPU EPS power. If appropriate, use one supported RAM stick in the manual-designated slot and disconnect unnecessary USB accessories and additional storage, keeping the CPU cooler installed. Never power a CPU without adequate cooling.
Where available, test a known-good monitor cable or graphics card. Don't reseat expensive parts repeatedly without a reason; inspect connectors for physical damage.
Step 4: firmware only when supported
Check the motherboard's CPU support list against the installed BIOS version. If a BIOS update is essential and the board supports an appropriate recovery or Flashback feature, follow that manufacturer's exact instructions with stable power.
Do not clear CMOS or TPM as a ritual. CMOS resets can change storage and boot settings, and TPM changes can affect access to encrypted devices. Record existing settings and ensure recovery keys are available before any firmware change on an in-service machine.
Step 5: stop when the evidence points to hardware
If a known-good PSU, documented compatible RAM and a valid minimum setup still produce the same indicator, preserve the logs and consider vendor RMA or skilled troubleshooting. Signs of burnt connectors, a damaged CPU socket or fluid contamination require professional inspection.
A systematic diagnosis protects the remaining good parts and gives support teams useful evidence. SJK's first-boot checklist is the ideal companion before any major changes.
Sources, specifications & further reading
SJK wrote this article as independent editorial analysis or educational guidance, based on the following published materials. Specifications and prices can change; always verify the current vendor documentation before acting.
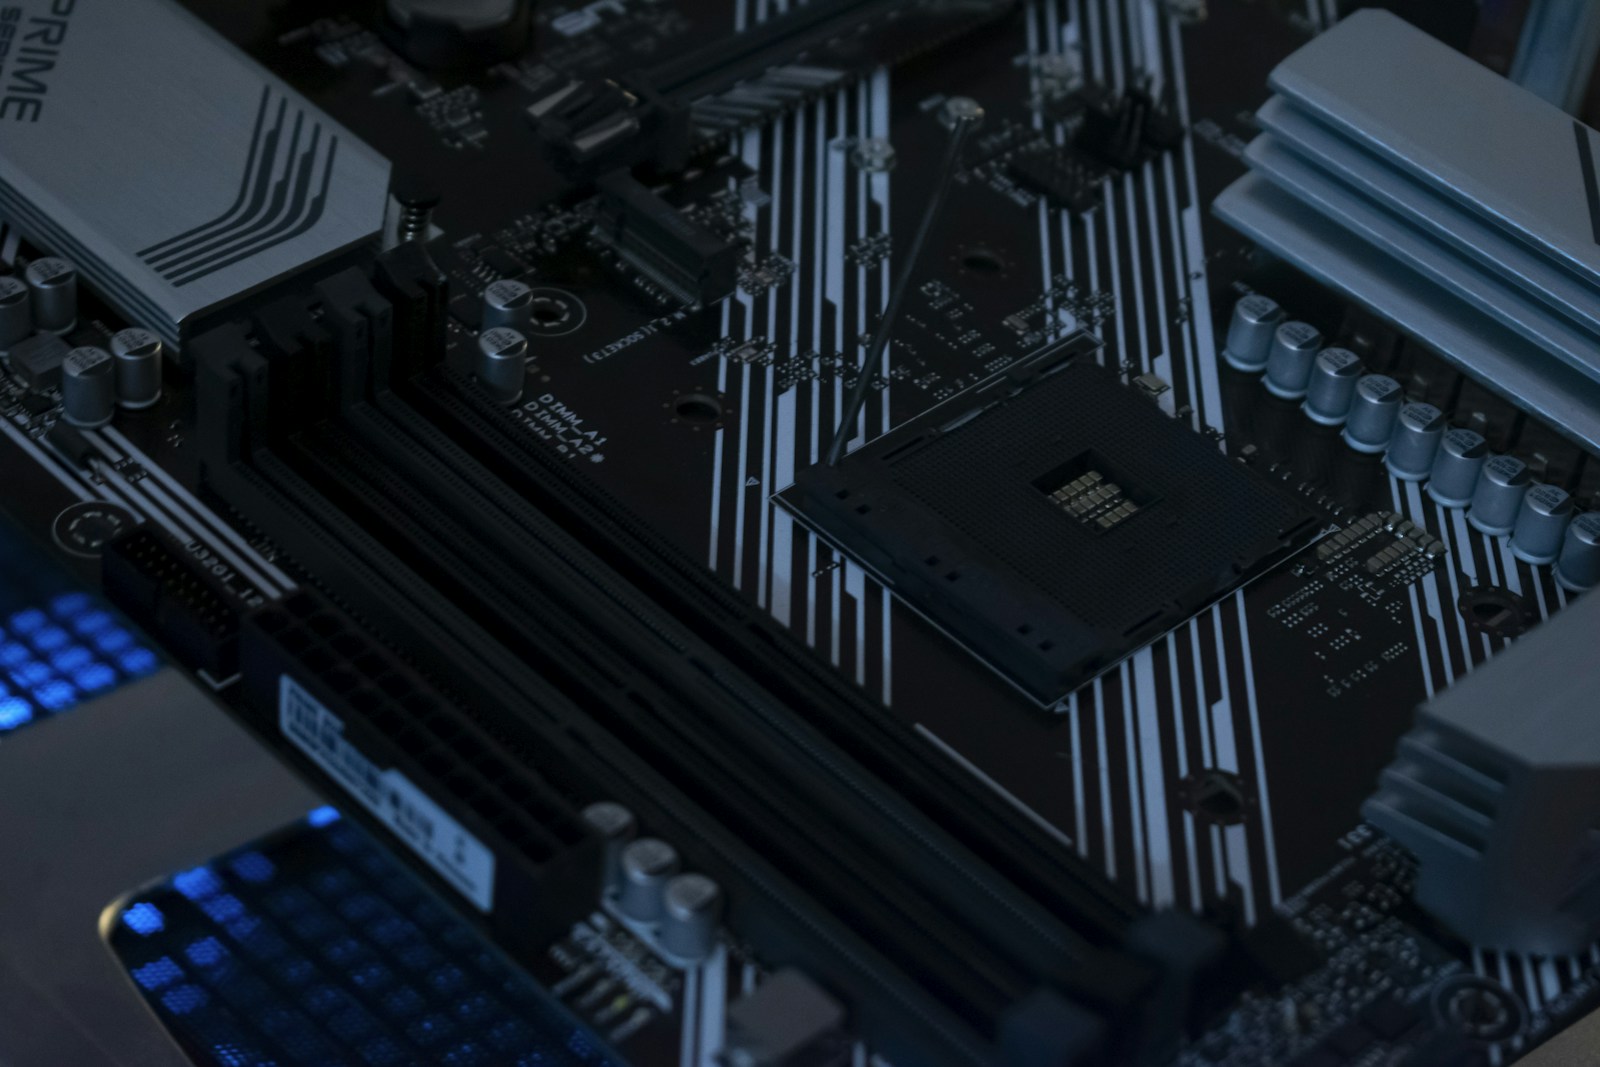
Cover photograph: Photograph: Brecht Corbeel / Unsplash. Representative motherboard, not a documented failed client computer.
Need a second set of eyes?
Guides are free and self-service. SJK offers remote support nationwide and on-site work in the Dallas–Fort Worth area, with scope and pricing confirmed before paid service.
REQUEST SJK SUPPORT ↗EXPLORE THE BUILD LAB ↗