PCPartPicker can turn a confusing pile of components into a working shopping list. It helps compare sellers and screens many common compatibility conflicts. But no automated builder can inspect your physical case, read every board revision sticker or guarantee what BIOS arrived in the box.
What you need to know
- Always check the exact processor against the motherboard manufacturer’s CPU-support list and minimum BIOS version.
- Confirm GPU length and thickness, cooler height, radiator placement, PSU dimensions and required power connectors manually.
- A green compatibility result is a screening result—not proof that the build will POST.
These are general instructions, not a replacement for the exact device service manual. Disconnect power and follow manufacturer precautions. Stop if you find damaged connectors, heat, liquid, swelling, or signs of electrical failure. Never open a power supply enclosure.
Step 1: start with the workload and a real budget
Open PCPartPicker System Builder. Choose whether this machine targets schoolwork, office use, gaming at a specified resolution, streaming, local AI or video editing. Include the monitor resolution because it changes the value of different GPUs.
Set aside budget for Windows if needed, backup storage, taxes, shipping and a reasonable replacement reserve. Do not spend every dollar on the graphics card and then choose an unreliable power supply.
Step 2: choose CPU, board and memory as a platform
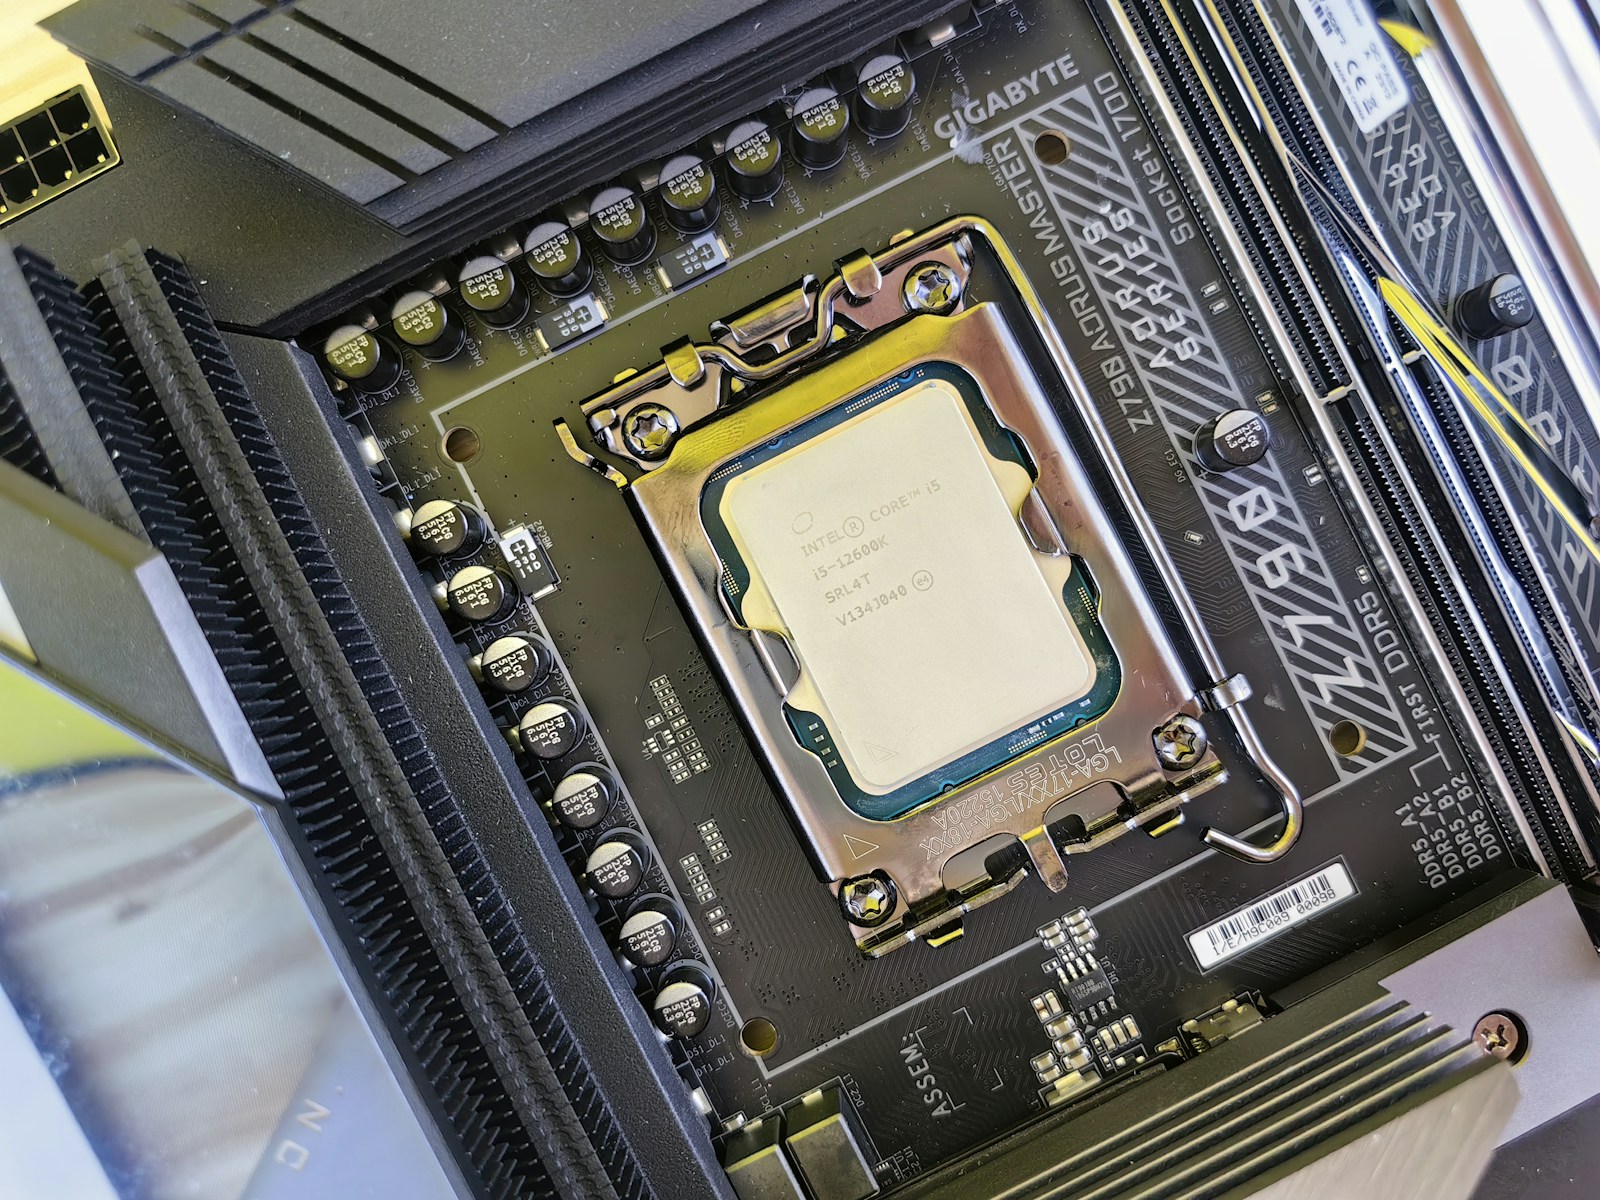
Select the CPU before the motherboard; then verify the board socket, chipset, BIOS support and memory generation. Check the actual motherboard's support page and its memory QVL if using high-capacity or unusually fast kits.
DDR4 and DDR5 are not interchangeable. An older BIOS may not support a new CPU out of the box. Also check whether your processor has integrated graphics—you may need a discrete GPU just to display the first BIOS screen.
Step 3: validate physical fit
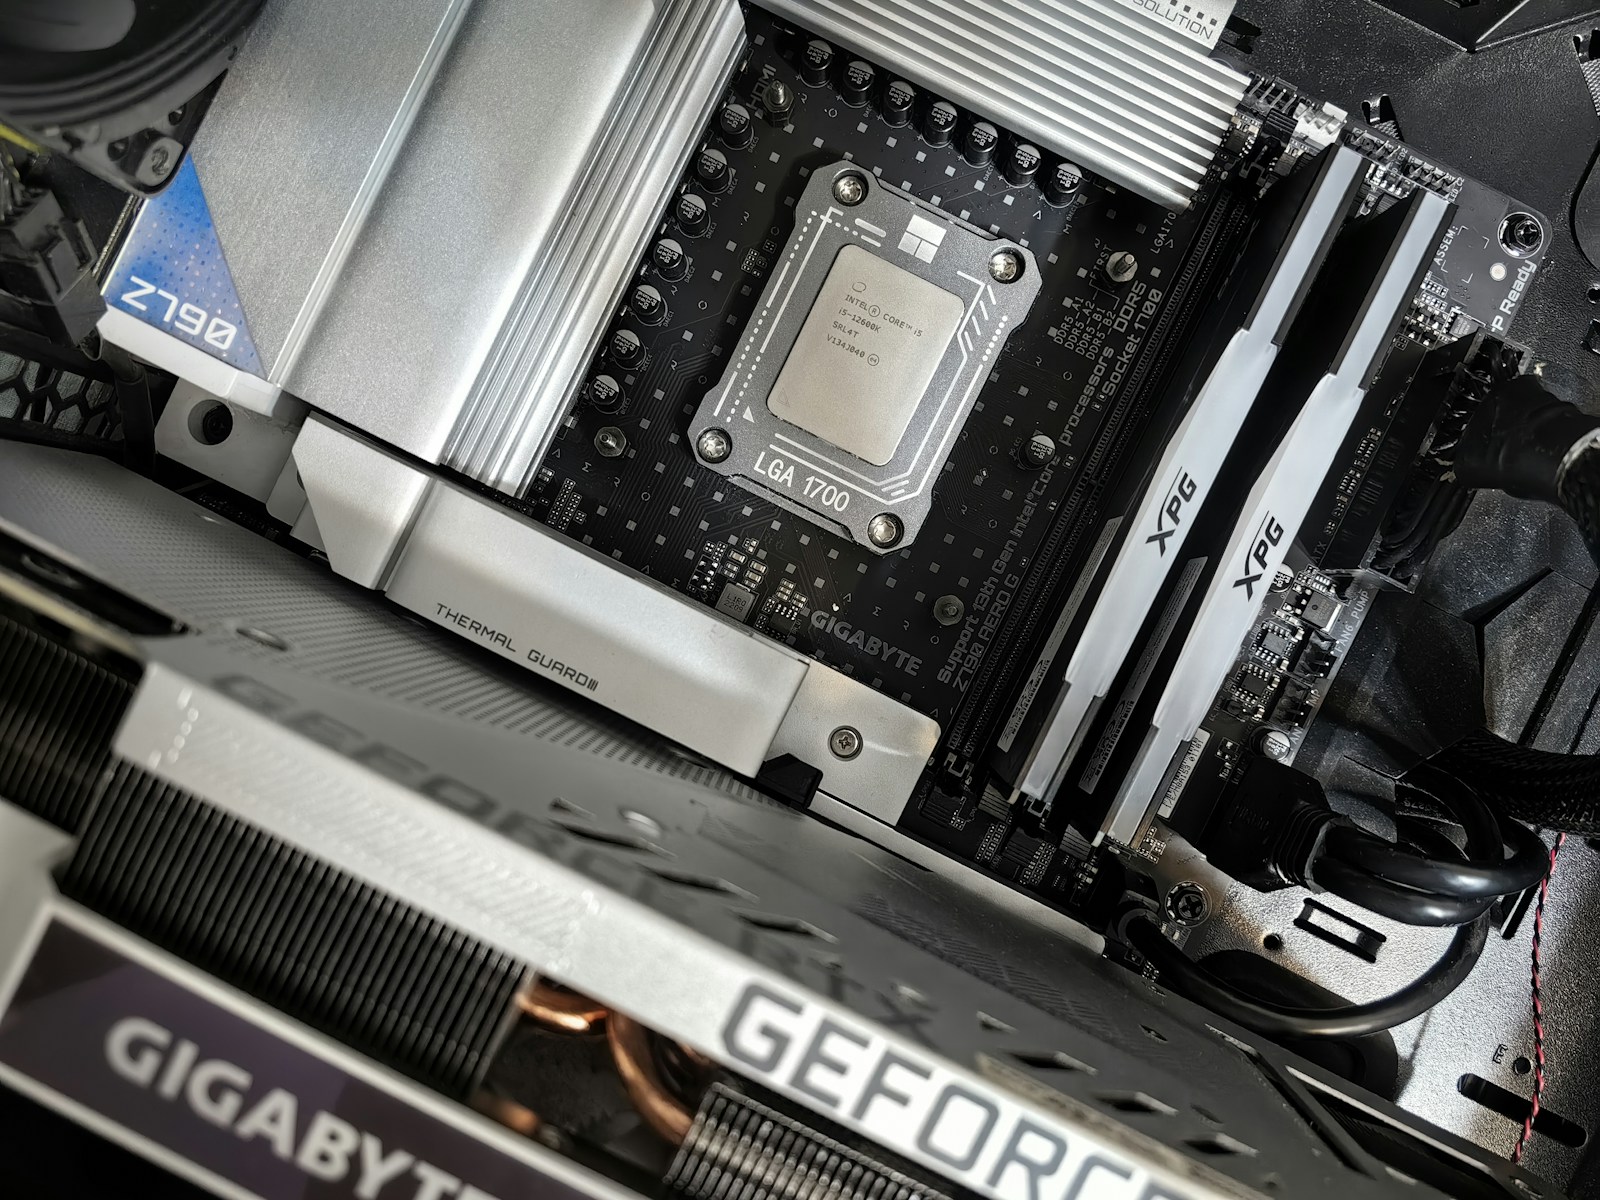
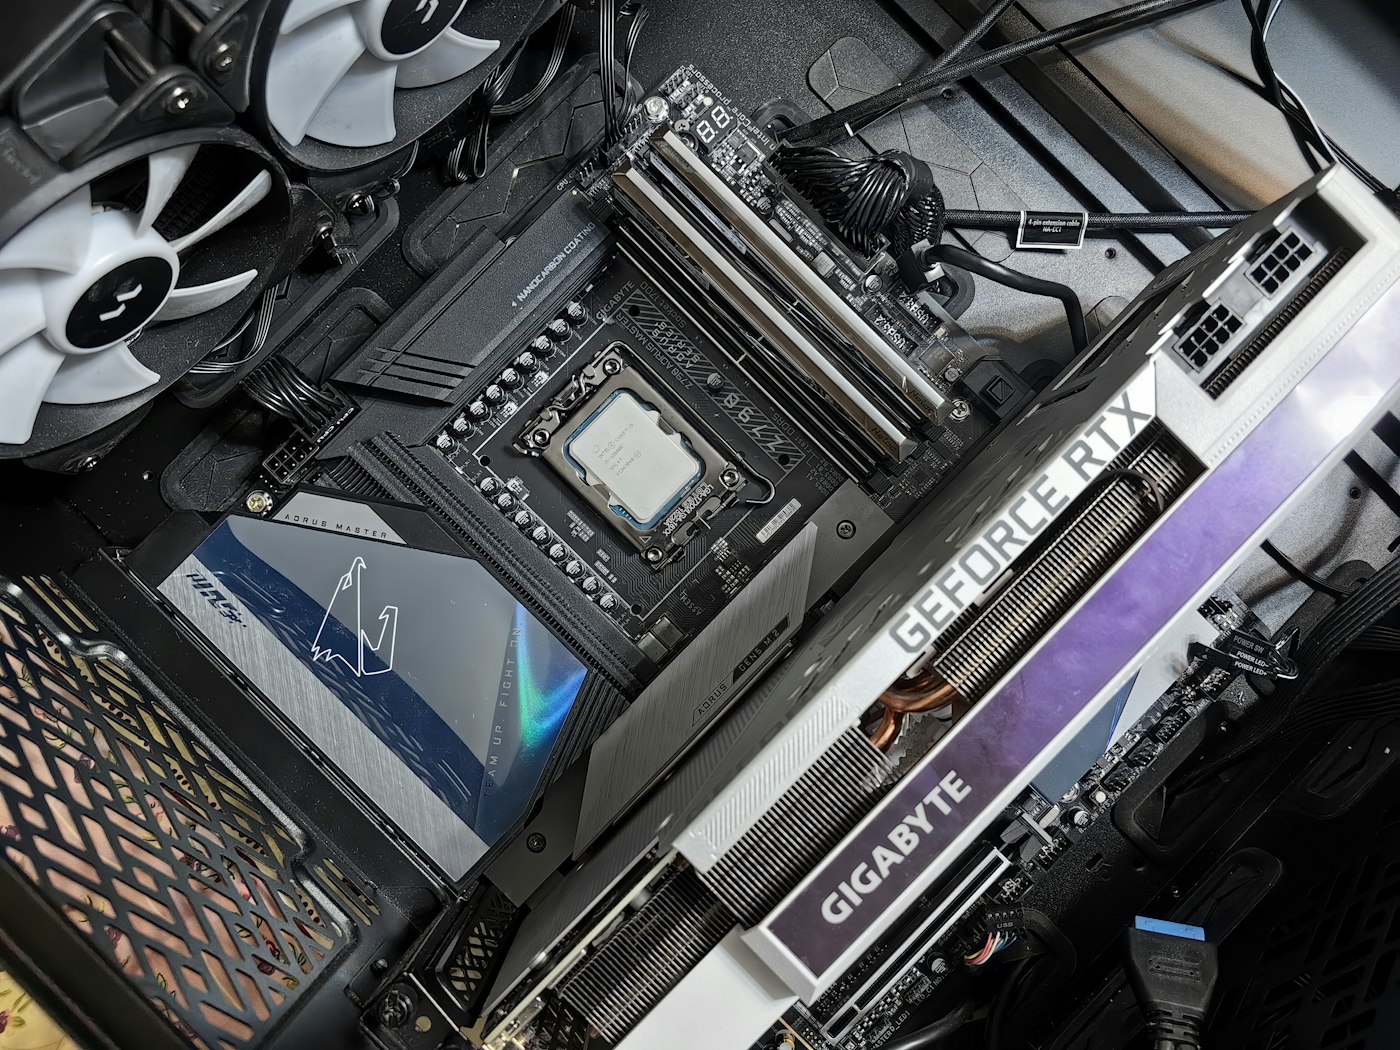
Compare case clearance against the precise GPU length, thickness and required power-cable bend room. Check CPU cooler height or liquid-cooler radiator compatibility including RAM and motherboard heatsinks. Verify motherboard form factor and PSU size.
If you plan multiple M.2 SSDs, read the board manual for PCIe lane sharing and disabled SATA ports. A component selector cannot always infer every lane-routing consequence or every manufacturing revision.
Step 4: read the warning panel like a technician
Treat compatibility warnings as questions requiring evidence. For a BIOS warning, check the manufacturer's support list and whether BIOS Flashback is available without a working CPU. For wattage, check your GPU maker's PSU guidance and actual connector requirements, not only the calculator total.
Treat 'may not fit' notes seriously. Find documented measurements and photos of the specific parts together. Community build photos can help but do not substitute for current official dimensions.
Step 5: price-check before checkout
PCPartPicker's offers are a useful comparison, but prices, sellers, stock and delivery can change. Open each retailer's final listing and verify the SKU, seller, taxes, warranty and expected delivery. Save or print the complete list before ordering.
When memory prices are volatile, consider a prebuilt alternative with the same parts. The goal is a working, serviceable PC, not winning a benchmark for the highest subtotal.
Sources, specifications & further reading
SJK wrote this article as independent editorial analysis or educational guidance, based on the following published materials. Specifications and prices can change; always verify the current vendor documentation before acting.
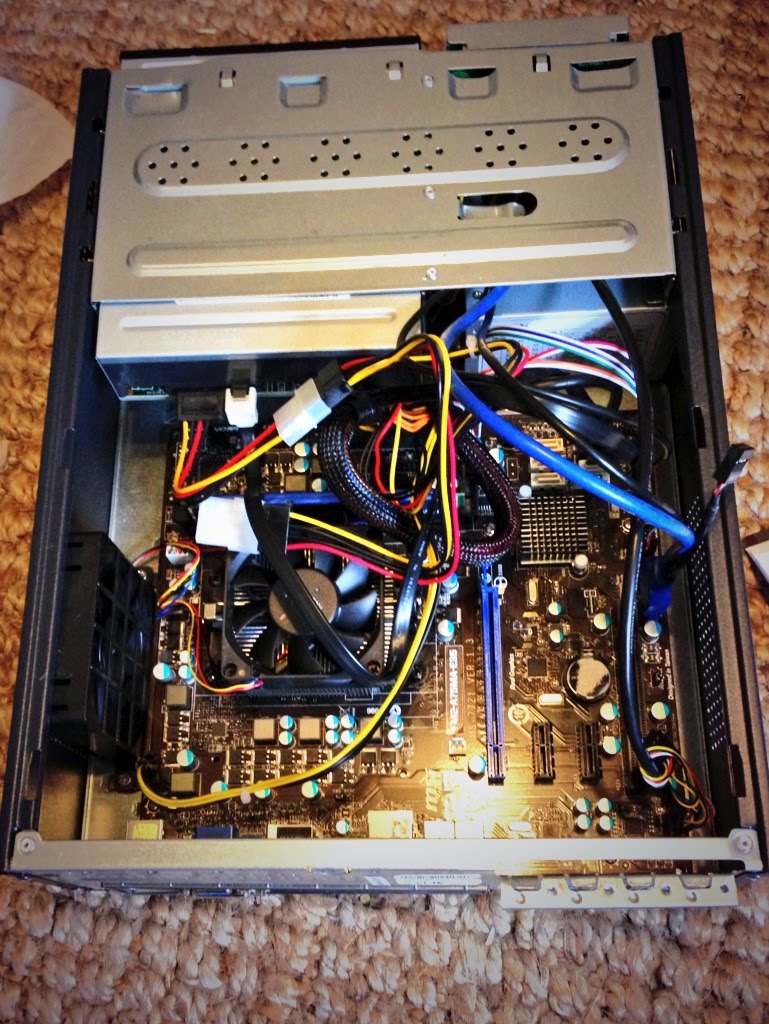
Cover photograph: Photograph: Kurt Kaiser / Wikimedia Commons (CC0 1.0 public-domain dedication). Illustrative hardware, not the PCPartPicker website.
Need a second set of eyes?
Guides are free and self-service. SJK offers remote support nationwide and on-site work in the Dallas–Fort Worth area, with scope and pricing confirmed before paid service.
REQUEST SJK SUPPORT ↗EXPLORE THE BUILD LAB ↗