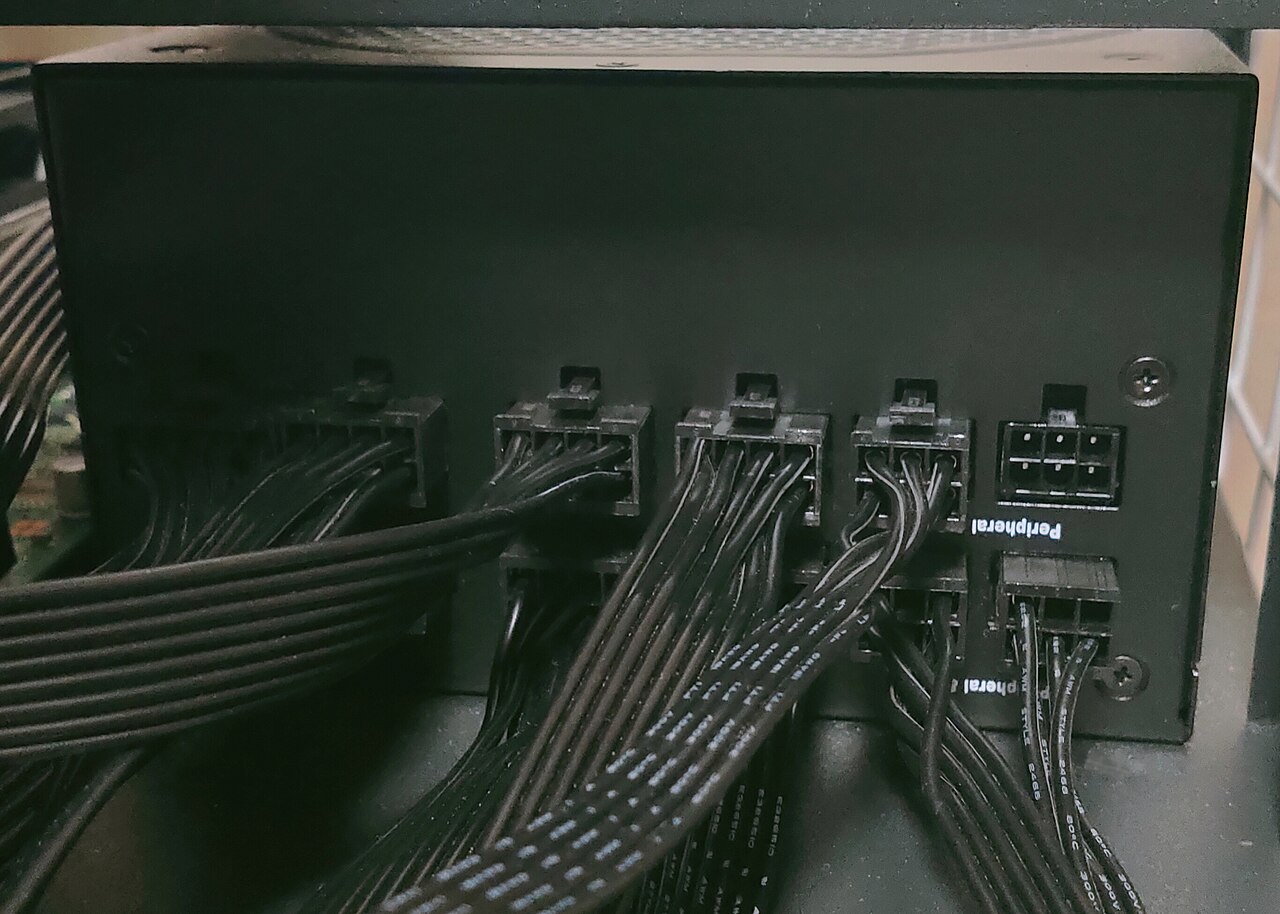
A power-supply replacement is one of the most valuable desktop repairs—and one of the easiest places to make a costly mistake. The dangerous misconception is that modular cables are universal. They are not: plugs may fit while the pin arrangement at the PSU differs.
What you need to know
- Never open the power-supply housing. Internal capacitors can retain hazardous energy after unplugging.
- Never reuse modular PSU-to-component cables from an old unit unless the new PSU manufacturer explicitly confirms exact compatibility.
- Replace the power supply and all incompatible modular cables as one set; check 24-pin, EPS/CPU, SATA and GPU connectors.
These are general instructions, not a replacement for the exact device service manual. Disconnect power and follow manufacturer precautions. Stop if you find damaged connectors, heat, liquid, swelling, or signs of electrical failure. Never open a power supply enclosure.
Choose the correct PSU before disassembly
Confirm ATX, SFX or other physical form factor, mounting dimensions, system power needs, connector inventory and case airflow. Review the GPU manufacturer's minimum power guidance while accounting for CPU power, transient load and reasonable headroom.
An efficiency label such as 80 PLUS does not alone guarantee build quality or protection performance. Prefer a reputable model with documented safety protections, a practical warranty and independently validated performance.
Never open the metal PSU enclosure
Switch off the PC, unplug the AC cord and leave the PSU itself sealed. Internal high-voltage capacitors can store energy. Cleaning, fan replacement and component-level PSU repair should be left to suitably qualified professionals; there is no need to open the enclosure for a normal PC power-supply swap.
Photograph all existing connections before removing anything. Label routes if the case is complicated. Keep old and new cables in separate groups to prevent accidental reuse.
Remove old power leads from every component
Disconnect the 24-pin motherboard cable, EPS/CPU cable, dedicated GPU power cables and SATA or accessory power lines. Remove external securing screws and lift out the old unit, supporting its weight. Do not yank at a cable that is still attached or threaded through a panel.
Never assume two modular power supplies from the same manufacturer accept each other's internal harnesses. Corsair's official compatibility tables, for example, differentiate cable types and explicitly warn that using the wrong type can damage hardware.
Install the new PSU and its own cables
Fit the new unit according to your case's ventilation layout and secure it with the proper screws. Route the matching cable set through grommets with no crushed insulation or sharp bends. Seat the 24-pin ATX, CPU EPS, GPU, storage and accessory connectors in their correct locations.
EPS/CPU and PCIe connectors may look similar but serve different purposes. Use the printed labels and official documentation. A partially inserted high-power GPU connector is unacceptable; inspect its seating and cable routing before applying power.
First power-on and troubleshooting
Before attaching AC power, check for loose screws, trapped cables and unconnected CPU power. Once assembled, power on and confirm fans, motherboard indicators and display behavior. A PSU fan not spinning continuously may be normal on models with semi-passive modes; confirm via the manual.
If the PC immediately trips, sparks, smells hot or damages connectors, disconnect power and stop. Do not repeatedly cycle the machine or bypass safety protections. For final checks, use the SJK pre-flight checklist.
Sources, specifications & further reading
SJK wrote this article as independent editorial analysis or educational guidance, based on the following published materials. Specifications and prices can change; always verify the current vendor documentation before acting.
Cover photograph: Project Kei, via Wikimedia Commons; cropped for web presentation. Original image / CC BY-SA 4.0.
Need a second set of eyes?
Guides are free and self-service. SJK offers remote support nationwide and on-site work in the Dallas–Fort Worth area, with scope and pricing confirmed before paid service.
REQUEST SJK SUPPORT ↗EXPLORE THE BUILD LAB ↗