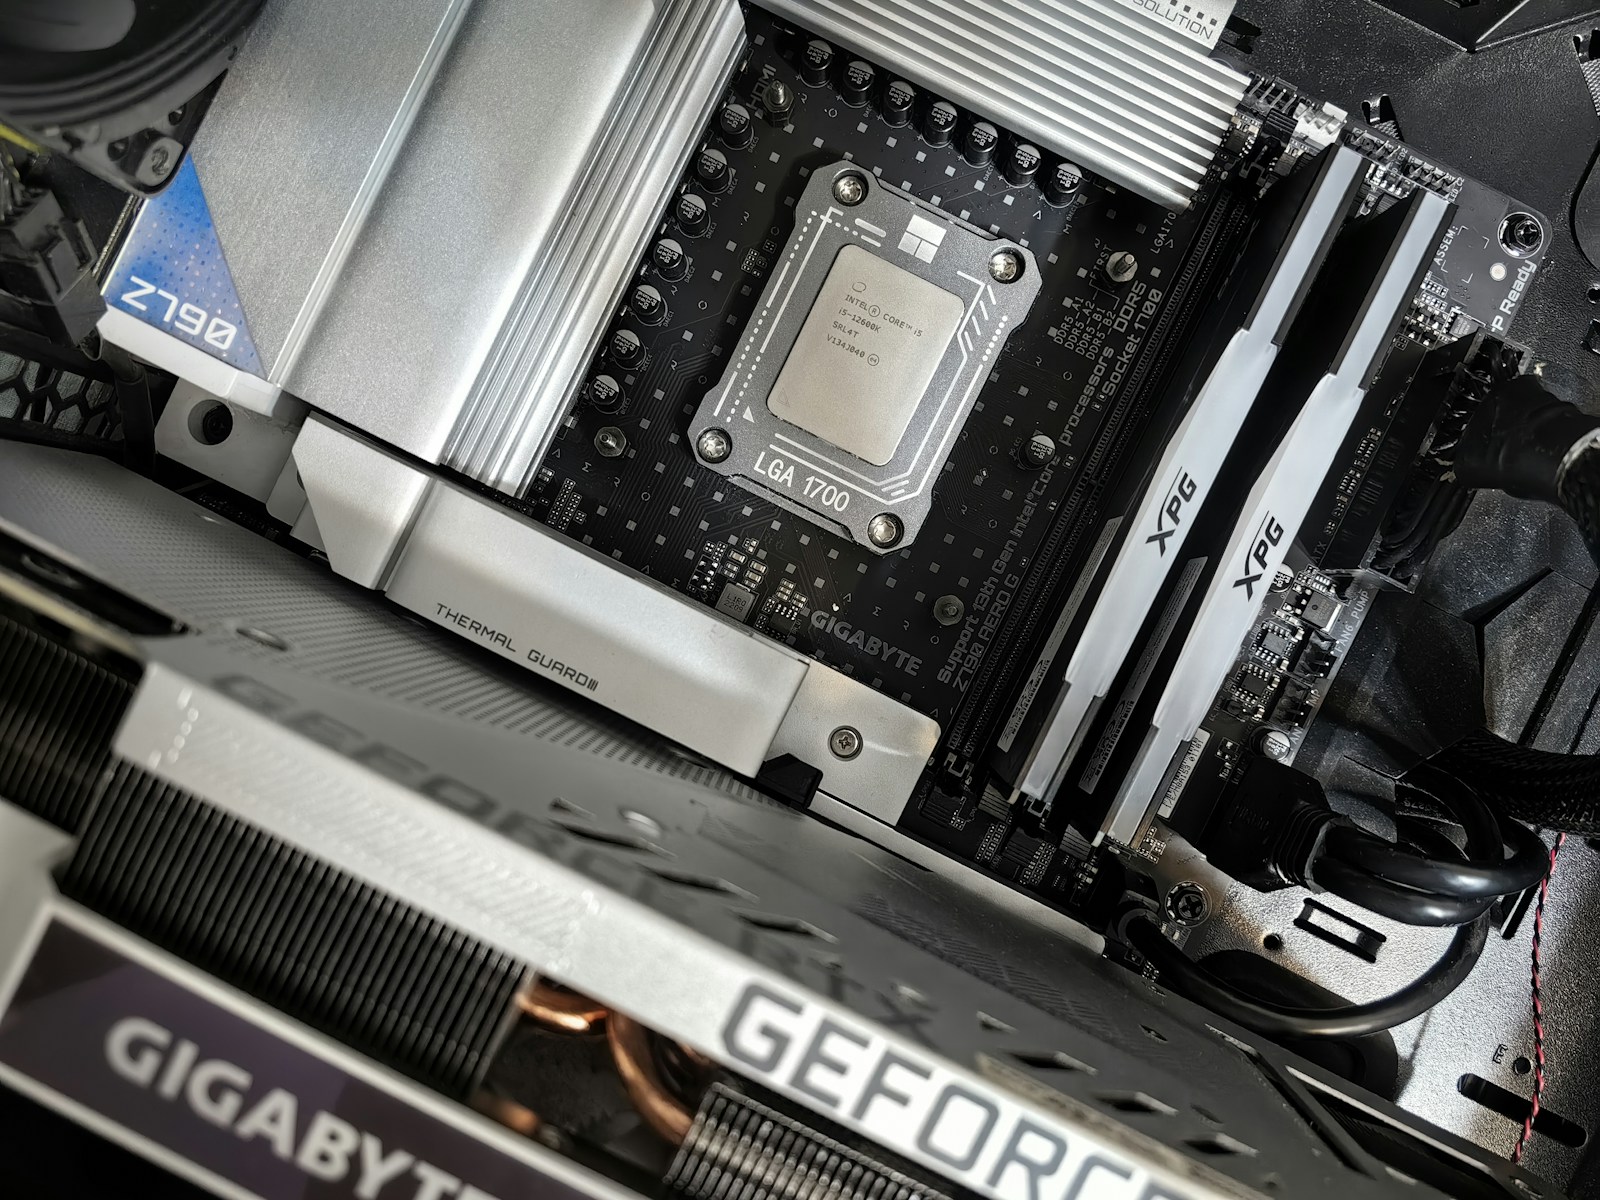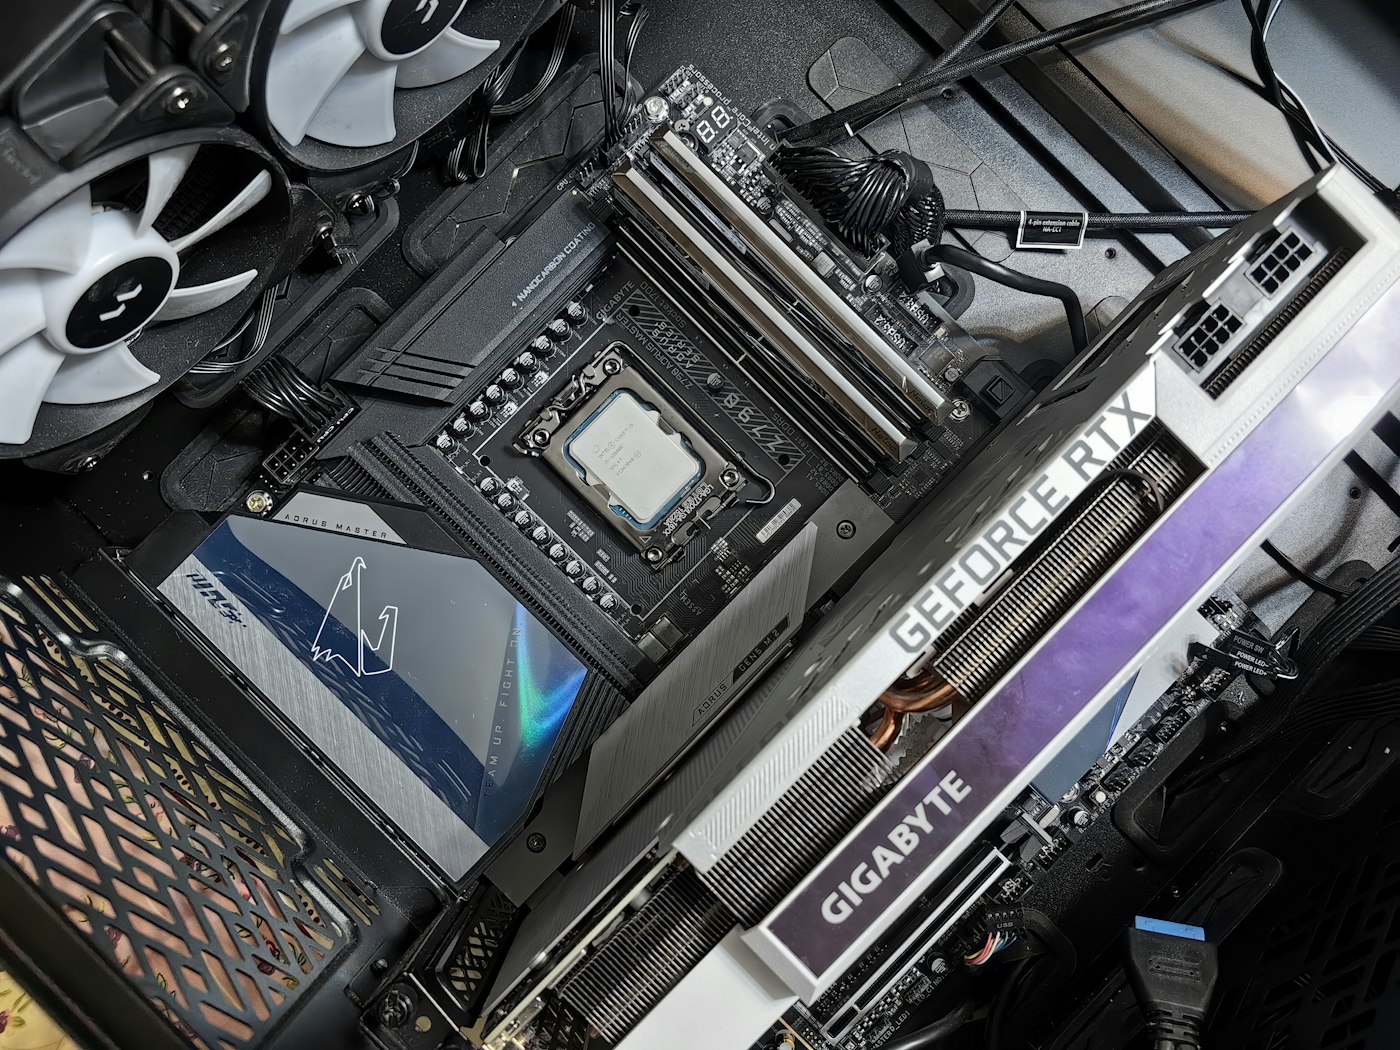
An M.2 drive can be replaced in minutes. Yet the mechanical swap is the least important part if the old drive contains Windows, client documents, saved game data or an encrypted volume. This guide treats the backup and recovery plan as part of the installation—not an optional afterthought.
What you need to know
- Verify the exact drive interface: M.2 is a shape, while SATA and NVMe/PCIe are different interfaces.
- Before touching the boot SSD, confirm a separate verified backup and obtain the BitLocker recovery key if encryption is enabled.
- Do not format or initialize the old drive merely because the new machine cannot read it.
These are general instructions, not a replacement for the exact device service manual. Disconnect power and follow manufacturer precautions. Stop if you find damaged connectors, heat, liquid, swelling, or signs of electrical failure. Never open a power supply enclosure.
Identify the drive and the slot first
Check the laptop or motherboard service manual for the supported M.2 length (such as 2230 or 2280), keying, PCIe generation, form factor, slot availability and whether the slot supports NVMe or SATA. A connector that looks correct can still be electrically incompatible.
In Windows, inspect Disk Management and the storage controller or drive model. If a system is already malfunctioning, do not assume it will boot simply because a replacement SSD is visible in UEFI.
Choose how the data will move
If the existing drive is healthy and you have two slots or a compatible USB-NVMe enclosure, cloning may preserve the Windows installation, partitions and applications. Verify that the destination is at least as large as the data set and compatible with your cloning software.
Alternatively, make a verified backup, install Windows cleanly and restore personal files. For a failing drive, heavy cloning attempts may accelerate failure; prioritize the most important data, and consider professional recovery when the contents are irreplaceable.
Deal with BitLocker before the swap
Find the BitLocker recovery key through the correct Microsoft account, work/school administrator or recorded recovery location. Verify it matches the protector for the actual device. A drive migration, firmware change or TPM-related change can trigger recovery.
Do not casually clear the TPM, bypass encryption or erase recovery partitions. If the machine is managed by an organization, follow its IT change procedure.
Remove the drive without damaging the socket
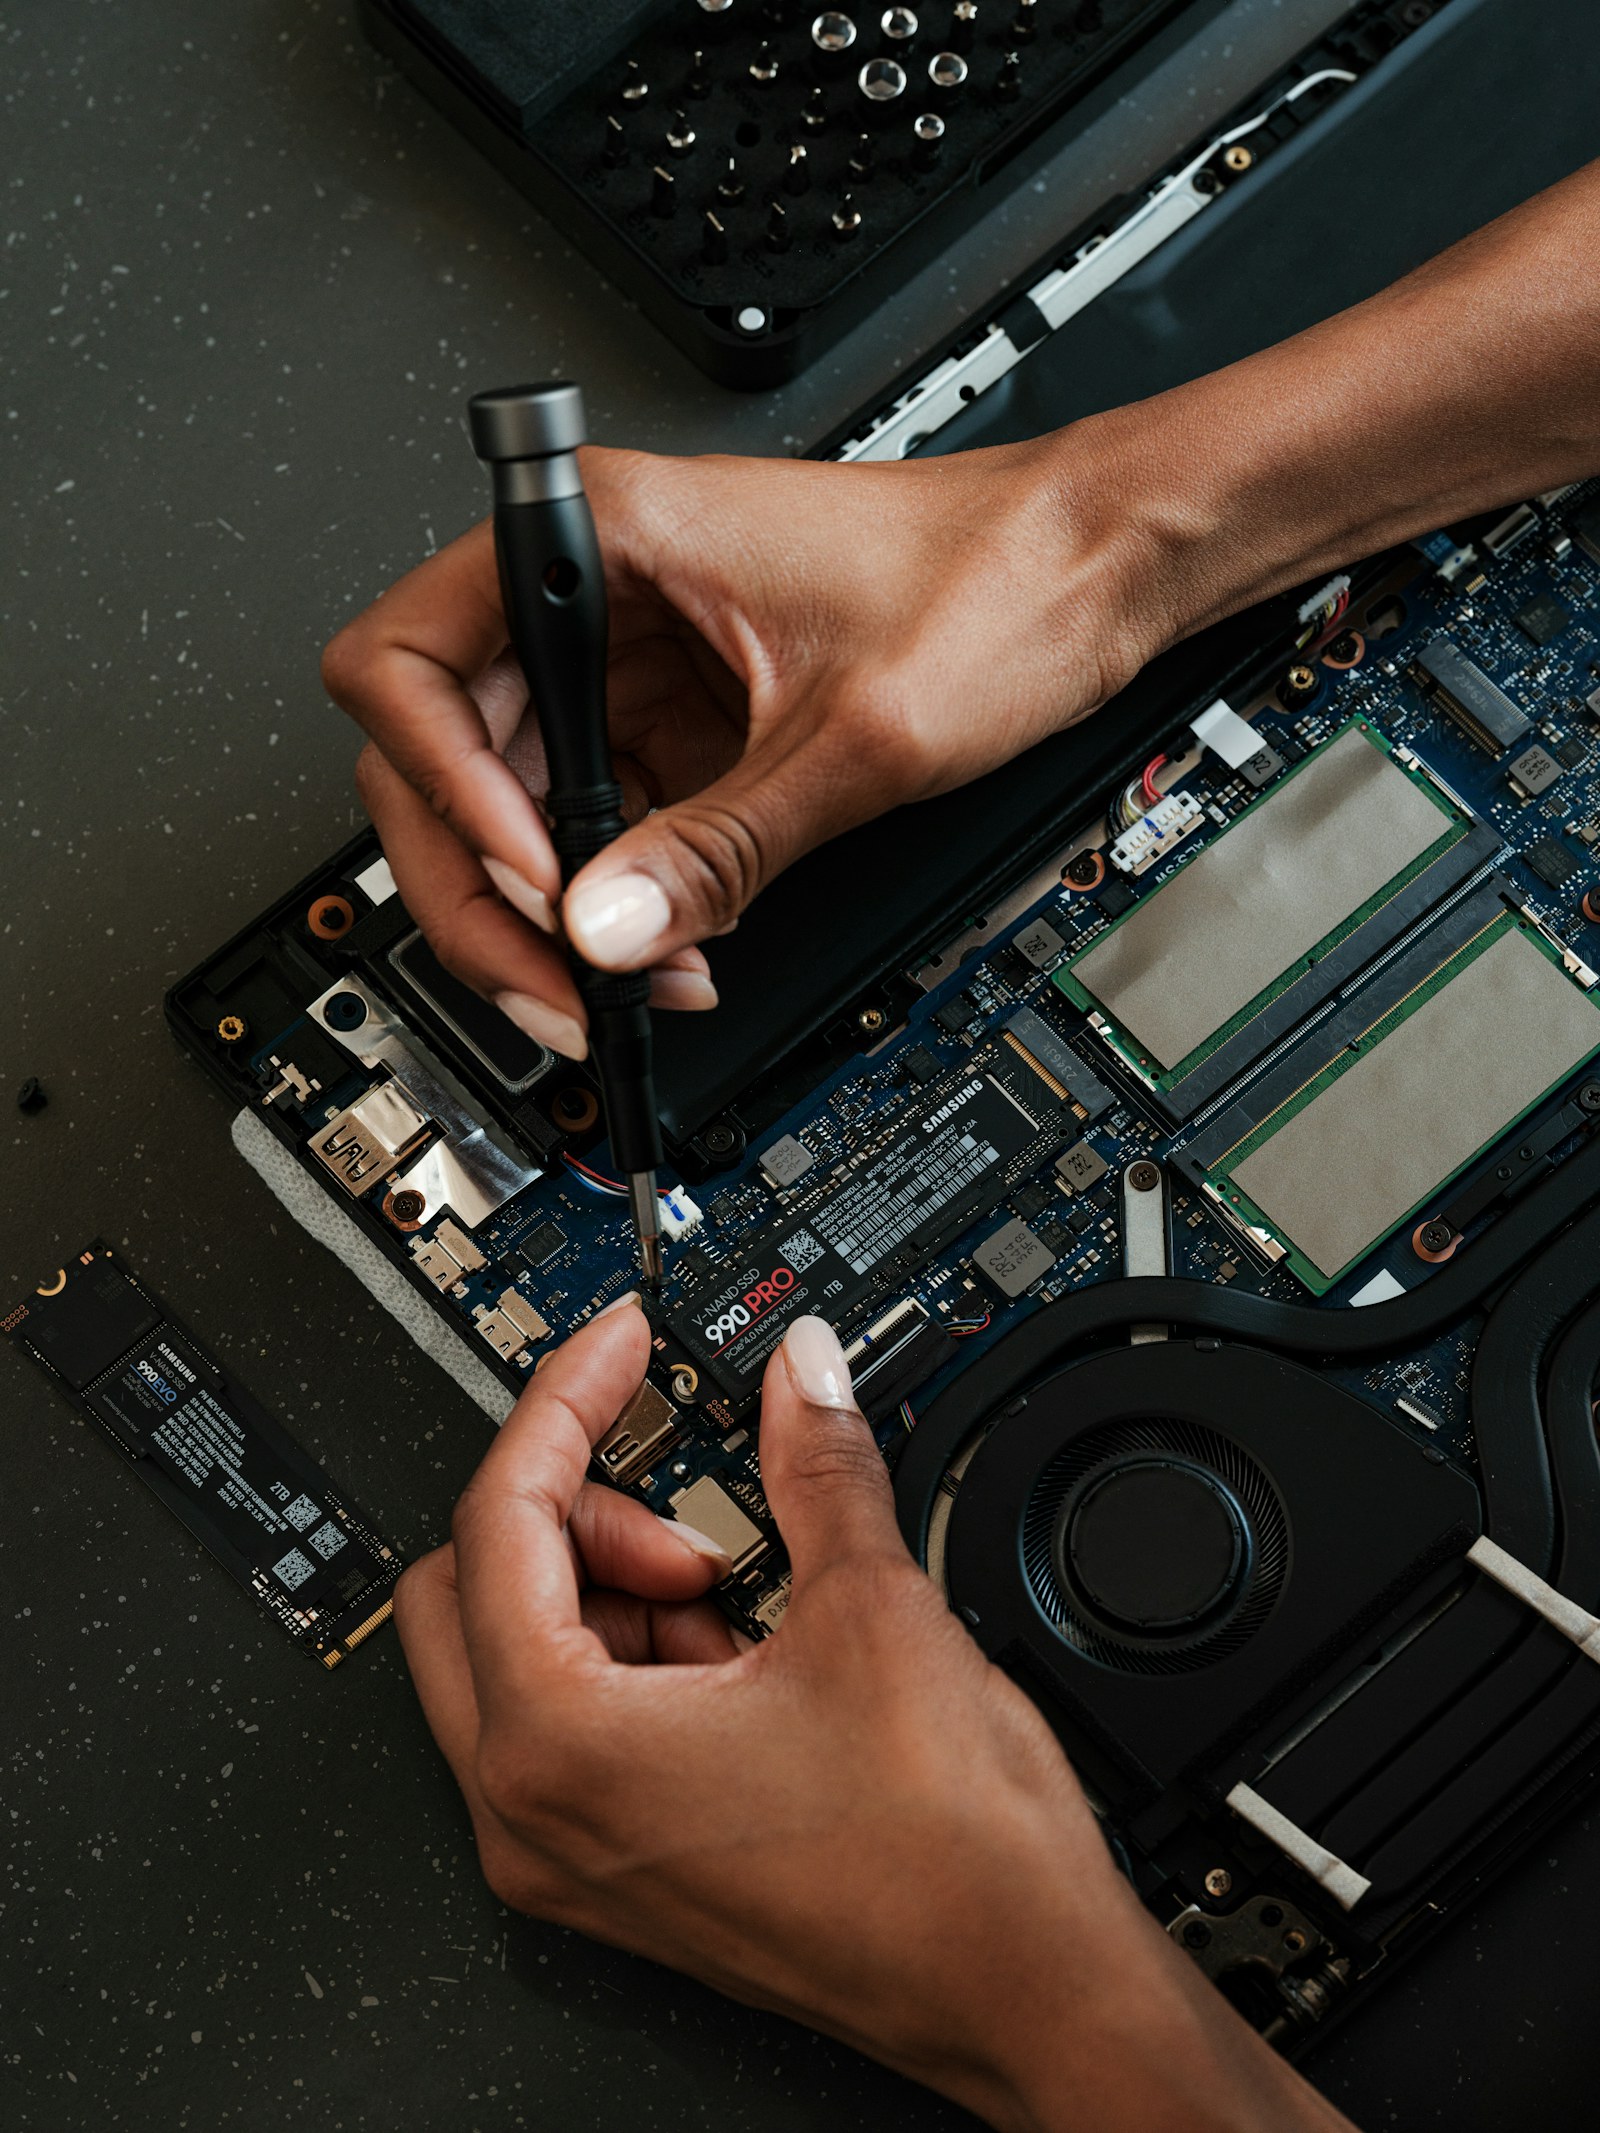
Shut down normally, unplug the AC cord or charger, and follow manufacturer instructions for disconnecting the internal battery if accessible. Remove the M.2 heatsink and retaining screw or tool-free latch. The SSD typically rises at a shallow angle; slide it straight from the connector without bending it.
Transfer thermal pads or reinstall the supplied heatsink according to the manual. Seat the replacement at the matching angle, align the notch, gently secure it and do not overtighten the tiny screw.
Verify, migrate and test
On first boot, enter UEFI and confirm the new drive model. A new blank SSD will not contain a bootable Windows installation; create legitimate installer media or restore from a proper clone/backup.
After Windows starts, verify boot partitions, drive health, free space and access to representative files. Do not erase the original drive until recovery data is confirmed and the new setup has been tested. For desktop BIOS repair issues, inspect boot configuration carefully rather than guessing drive letters from a recovery environment.
Sources, specifications & further reading
SJK wrote this article as independent editorial analysis or educational guidance, based on the following published materials. Specifications and prices can change; always verify the current vendor documentation before acting.
Cover photograph: Editorial photograph via Unsplash; illustrative image, not a photograph of the reported event.
Need a second set of eyes?
Guides are free and self-service. SJK offers remote support nationwide and on-site work in the Dallas–Fort Worth area, with scope and pricing confirmed before paid service.
REQUEST SJK SUPPORT ↗EXPLORE THE BUILD LAB ↗