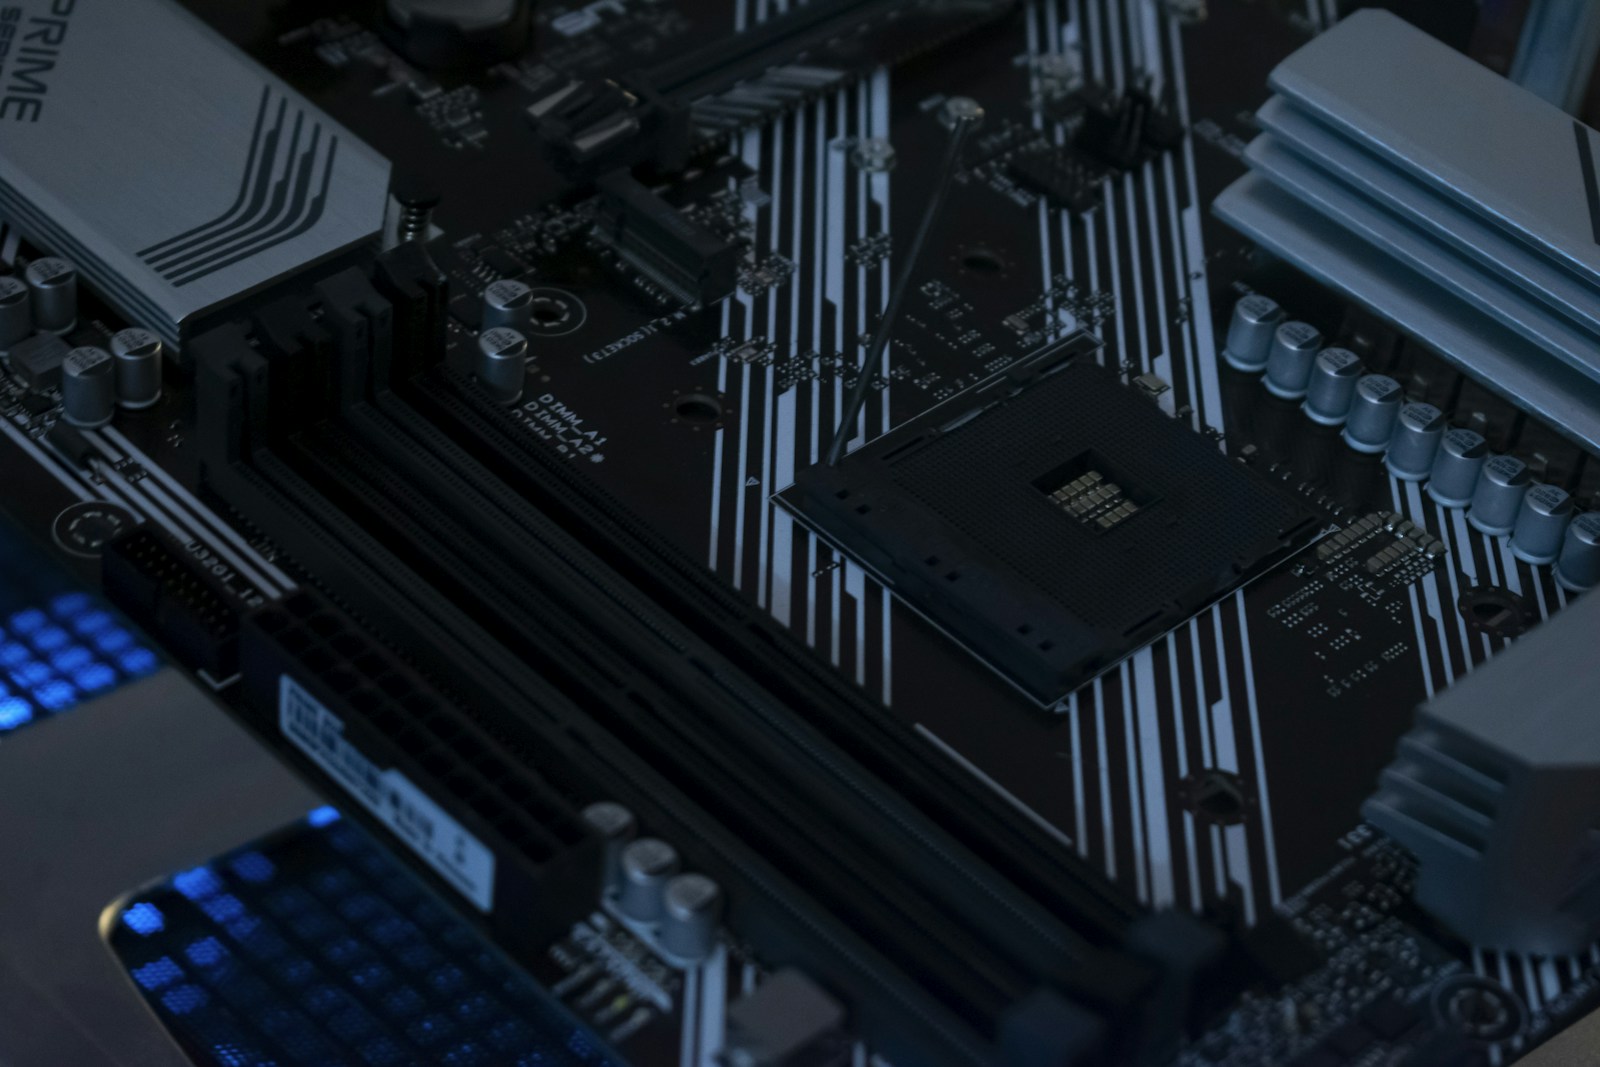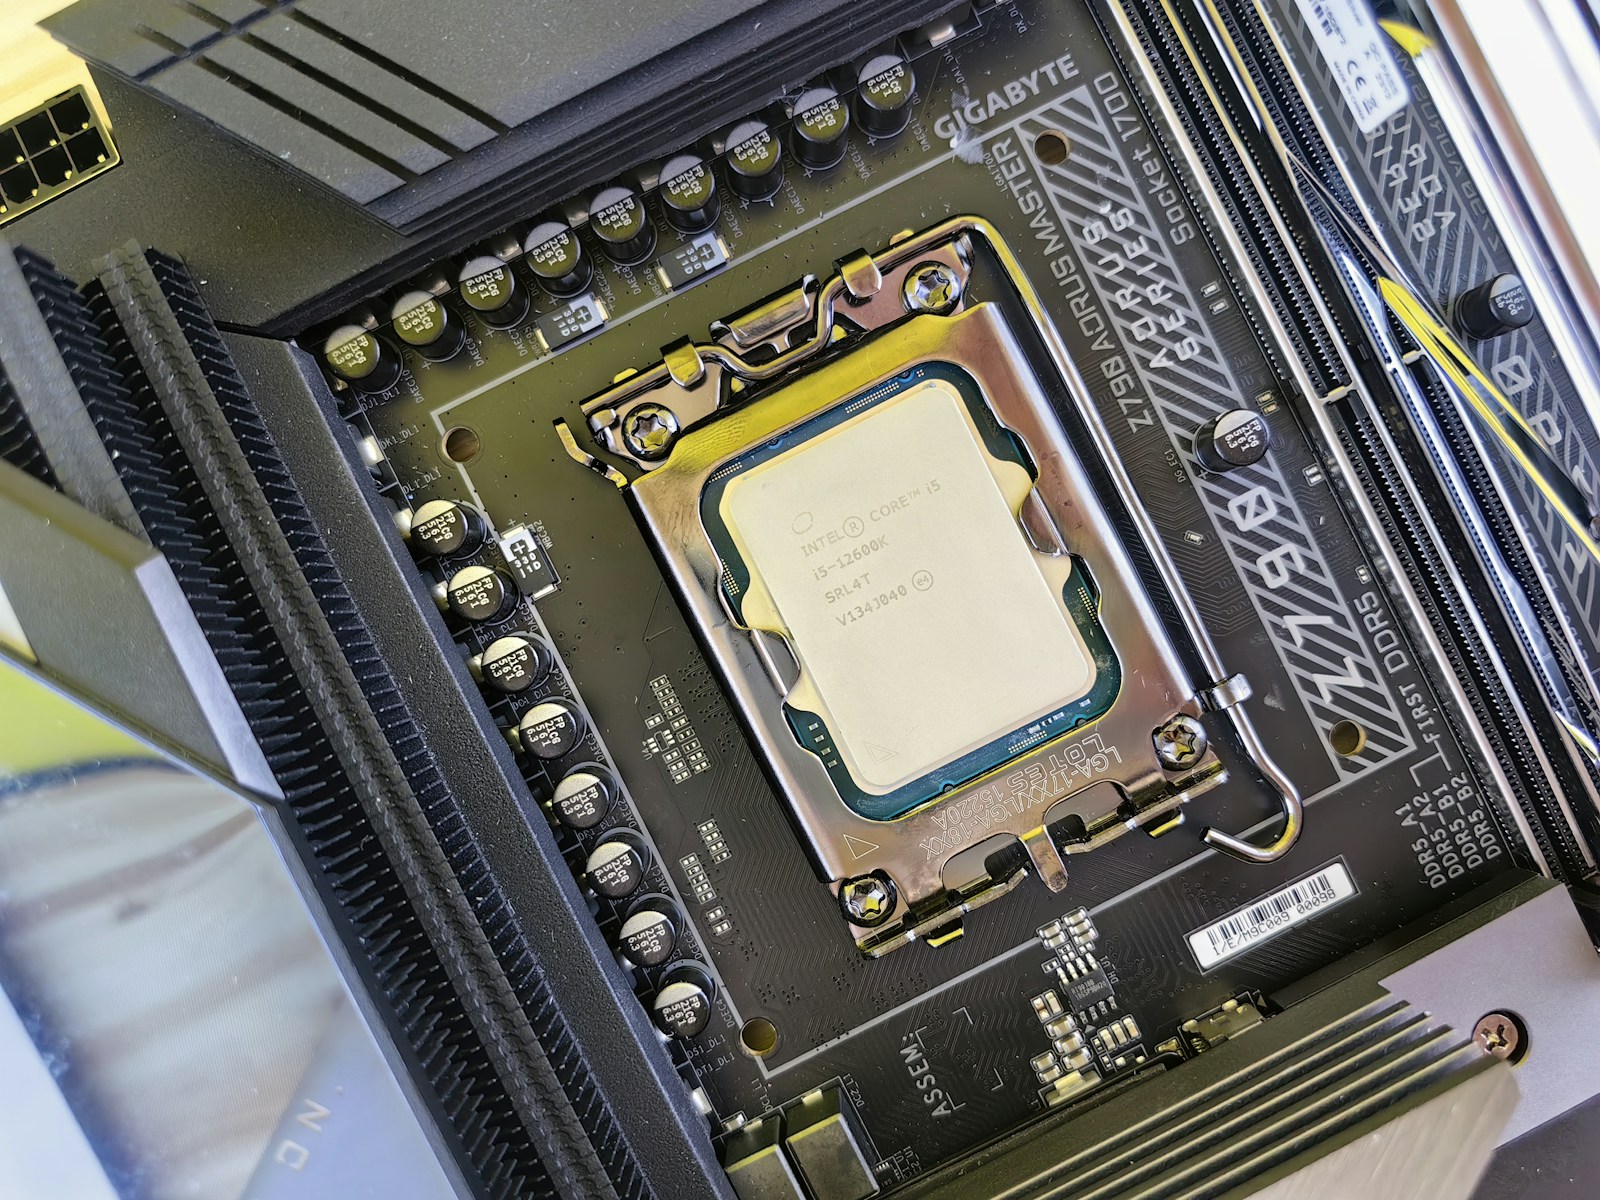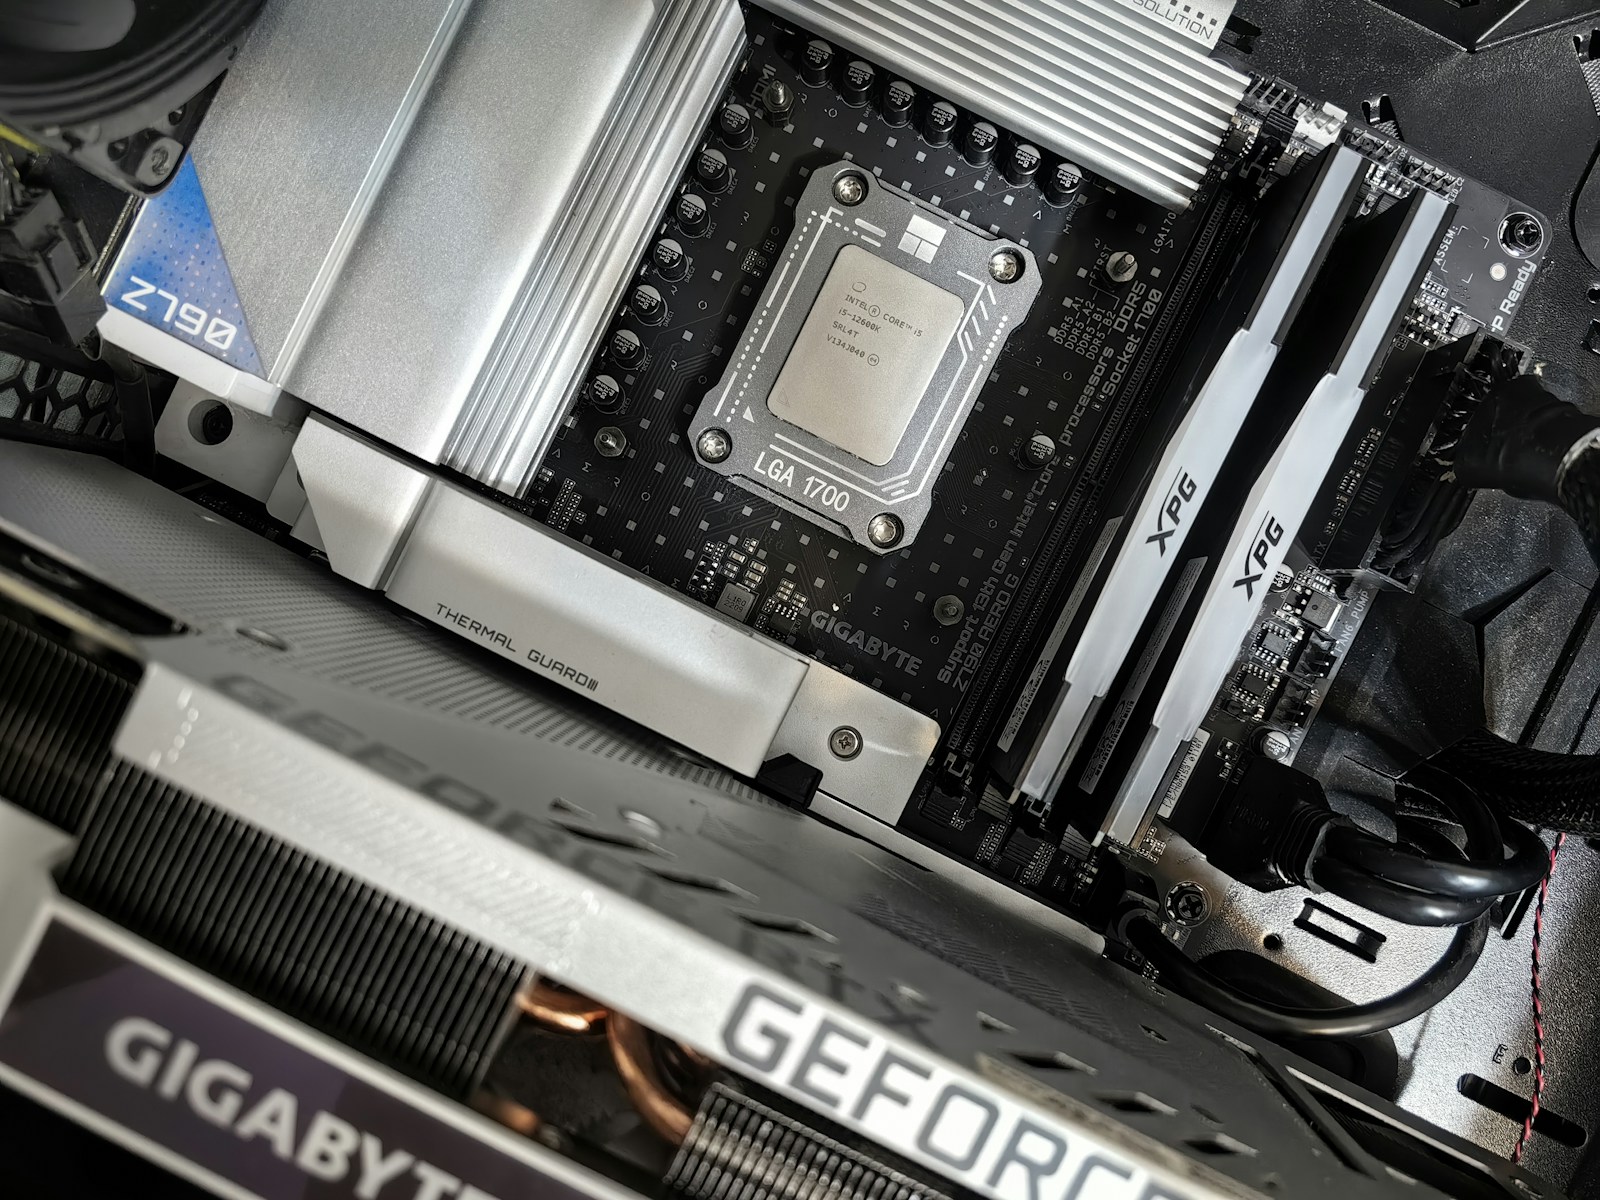
A graphics-card swap looks simple until a heavy GPU refuses to move. Forcing it can break a PCIe slot, strain the motherboard or damage expensive connectors. The right sequence protects the computer and helps separate a real GPU fault from a seating or cable issue.
What you need to know
- Shut down, switch the PSU off and unplug AC power before touching components.
- Remove bracket screws and release the PCIe retention latch before lifting the GPU; support its weight.
- Fully seat the manufacturer-approved GPU power cable, avoiding severe bends near high-power connectors.
These are general instructions, not a replacement for the exact device service manual. Disconnect power and follow manufacturer precautions. Stop if you find damaged connectors, heat, liquid, swelling, or signs of electrical failure. Never open a power supply enclosure.
Check compatibility before opening the case
Measure the exact GPU clearance and note whether it uses two, three or more expansion slots. Check the PSU wattage and the required number and type of power connectors. Verify monitor ports and whether the CPU has integrated graphics for alternate testing.
If the original card works intermittently, record symptoms, error lights and temperatures first. Removing hardware without a hypothesis can erase useful evidence about the failure.
Remove the card in the right order
Shut down Windows, turn the PSU switch off and disconnect the mains cord. Wait for motherboard LEDs to extinguish. Disconnect monitor cables, open the case and photograph the existing cable routing. Unplug the card's PCIe power leads by pressing their release tabs, not by pulling on wires.
Support the card with one hand, remove the screws or retention bracket at the rear of the case, then unlock the motherboard PCIe latch. If it is difficult to reach, use the motherboard's intended release mechanism—never pry blindly with a metal screwdriver near components. Lift the GPU out level and steadily.
Inspect the slot and install
Inspect the GPU edge connector, slot, backplate and surrounding area for obvious damage, dust or foreign objects. Do not scrape contacts or spray liquid cleaner into the slot. Align the replacement with the PCIe slot and case openings, then press evenly until fully seated and the latch secures.
Reinstall the case screws and any anti-sag support. A large GPU hanging from the connector can stress the slot during shipping or movement.
Power connectors deserve extra attention
Use only cables that are specifically compatible with your power supply. For modern high-power GPU connectors, follow the vendor's instructions for full insertion and cable clearance; avoid forceful bends directly at the connector or splitters not approved for the load.
If a plug shows heat discoloration, melting or unusual odor, stop using the PC and seek qualified service instead of trying to 'seat it harder' while powered.
First boot and software checks
Connect the monitor to the correct GPU output. Power on, allow time for POST and verify an image appears. Install the appropriate official graphics driver and run a controlled test, monitoring temperatures and fan operation.
If the screen says No Signal, verify display input, cable, GPU power and motherboard debug LEDs before concluding the card is defective. See SJK's no-signal guide for a symptom-first approach.
Sources, specifications & further reading
SJK wrote this article as independent editorial analysis or educational guidance, based on the following published materials. Specifications and prices can change; always verify the current vendor documentation before acting.
Cover photograph: Photograph: Brecht Corbeel / Unsplash. Hardware close-up, not a step-by-step procedure photograph.
Need a second set of eyes?
Guides are free and self-service. SJK offers remote support nationwide and on-site work in the Dallas–Fort Worth area, with scope and pricing confirmed before paid service.
REQUEST SJK SUPPORT ↗EXPLORE THE BUILD LAB ↗